Leaderboard


Popular Content
Showing content with the highest reputation on 10/25/2011 in all areas
-
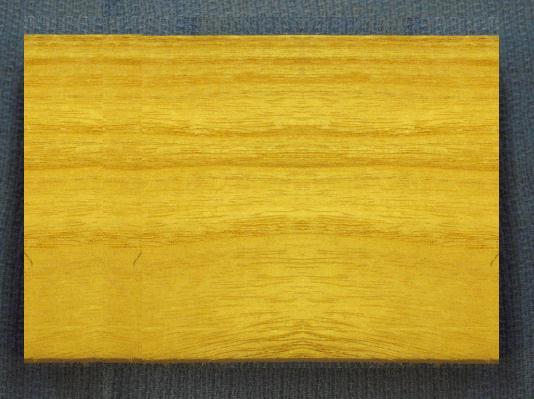
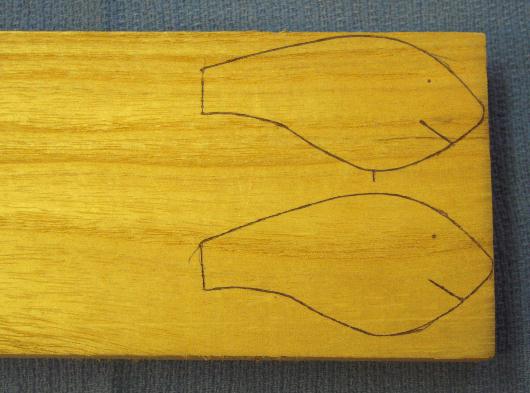
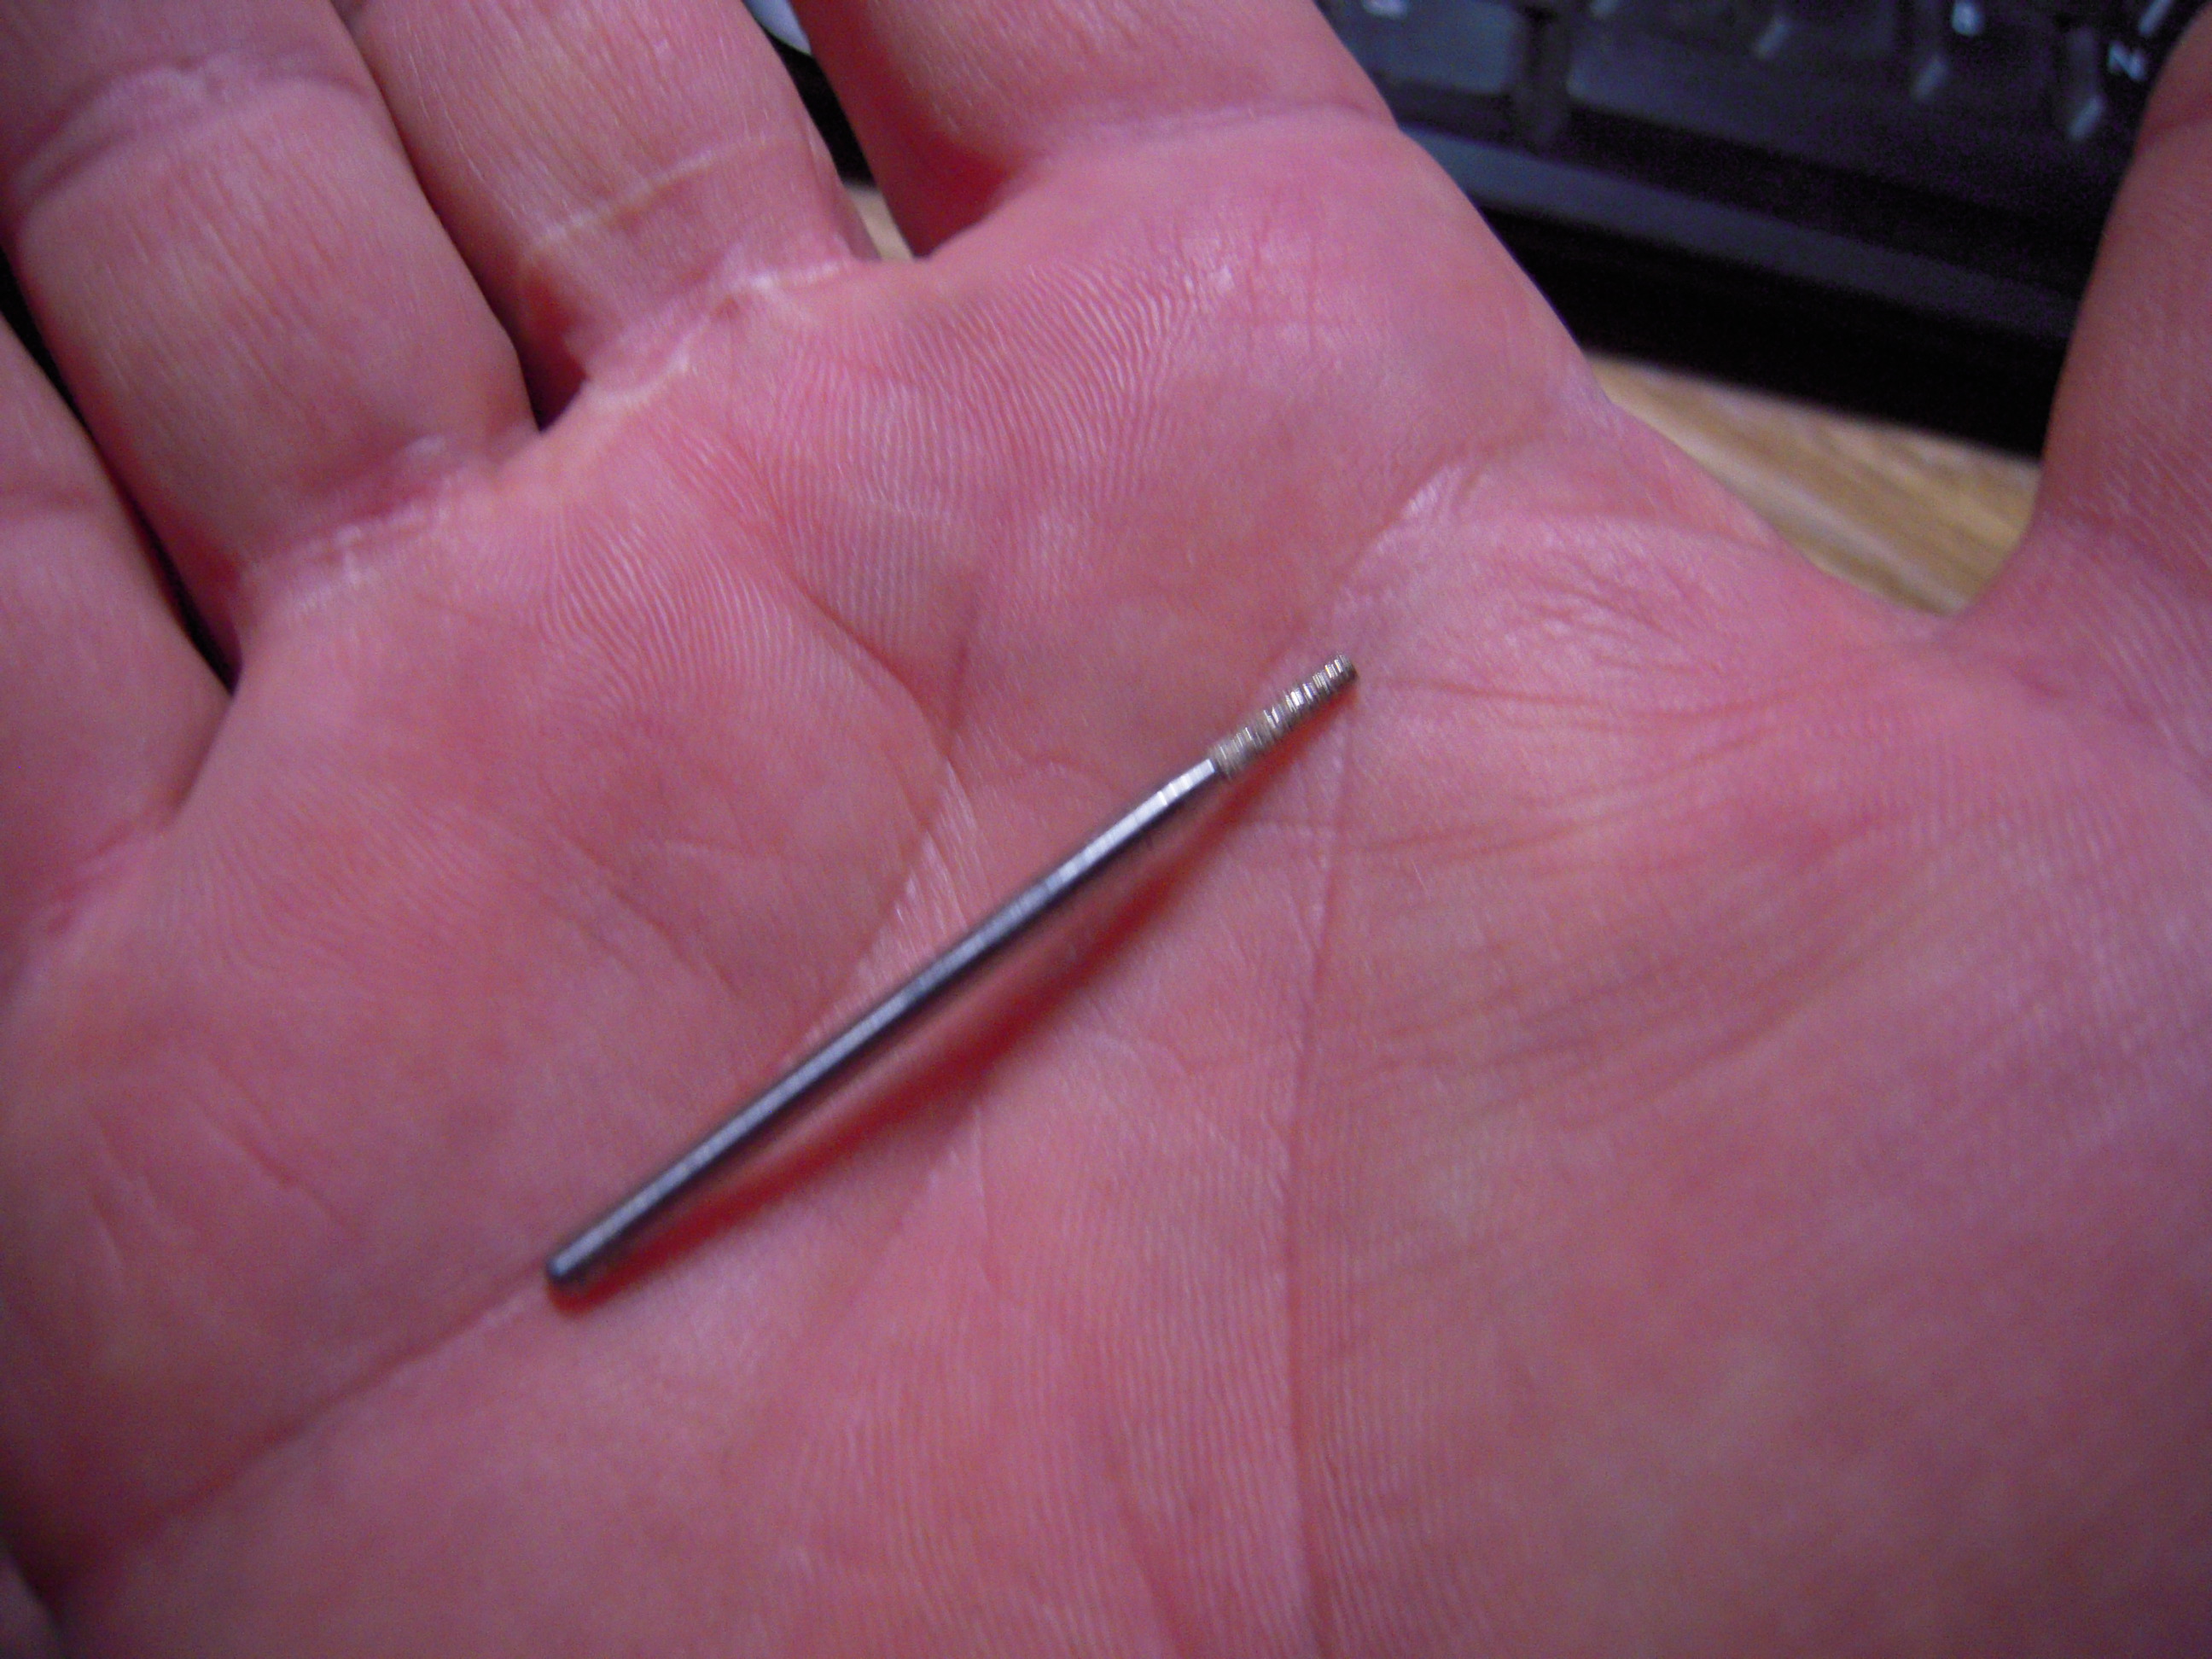
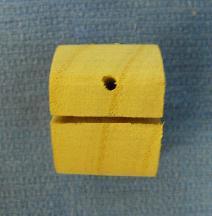
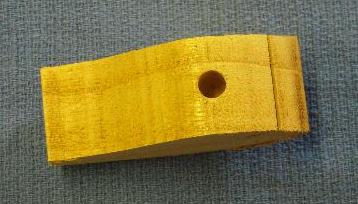
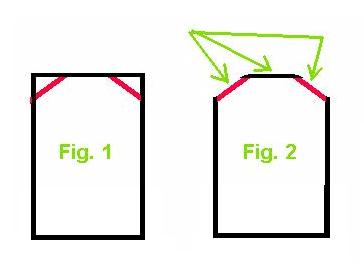
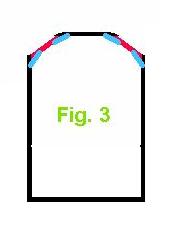
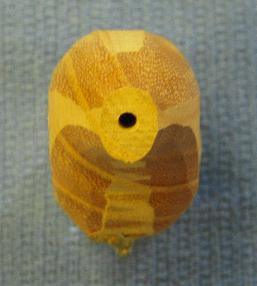
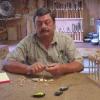
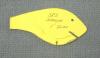
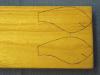
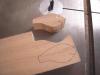
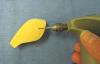
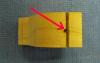
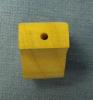
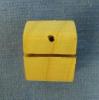
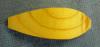
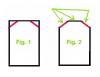
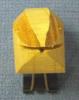
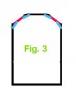
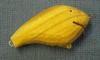
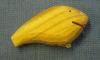
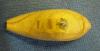
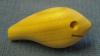
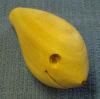
HAND CARVING YOUR OWN FISHING LURES Do you have an idea for a “new and improved” lure or an oldlure that’s not available anymore? Or would you just like to copy another lureand make some modifications to it? That’s not a problem any longer. I'm going toshow you in the following steps how to hand carve your own custom lures. If you follow the steps below, you'll find outthat it's really not a hard thing to do and you can step away from repaintingother people’s lures. I’ll start by selecting a pattern for my lure. This can be apattern that somebody else has drawn up or I can create my own pattern. I usecardboard for my lure patterns. I then write on my pattern any informationabout that lure such as: location of hook hangers, location and amount ofweight for the lure, thickness of the lure, eye placement, lip angle and type,and any other pertinent information. That way the information is always handy.I also cut the lip slot into the pattern. Select the wood that you want to use to carve your crankbaitout of. Here, I'm using Paulownia. I have several boards that I have planned tospecific thicknesses. You can also use a block of wood and after you cut outthe profile of your lure, you can just cut the lures off at the thickness thatyou want. There are other various woods that can be used including basswood,balsa, and poplar. The choice is up to you. I’ll trace my pattern onto the wood making sure that I markthe location for the eyes and for the lip slot. I also want to make sure thatthe grain of the wood runs the length of the lure and NOT from top to bottom.This will ensure that the lure has structural integrity. Once I've completed that, I’ll take the wood over to theband saw and cut out the profile of the lure. At the same time, I’ll cut thelip slot. Before I cut out the lure I will check and see that the table of theband saw is 90-degrees to the band saw blade. This ensures that the lip slot will beperpendicular to the lure. If I wait until after I carve the lure, it's hard tocut the lip slot and get it right. Using a small 1/16-inch drill bit, I’ll drill a guide holefor the placement of the eyes. NOTE: This is optional. I do it to give me areference point to countersink my eye sockets. In this step I will widen the lip slot. For that I use a1/16-inch diameter diamond grinding bit. I like to use one that has a 1/16-inchshaft. That way I can get deeper intothe lip slot. This bit will follow the already cut lip slot almostperfectly. Be sure to widen the lip slot before you do the tapers on your lureas the bit will sometimes tear out a small chuck of wood as it exits the lipslot. After I widen the lip slot, I then hollow out a smallchannel at the bottom of the lip slot that will allow me to insert the back endof the line tie if the line tie is in the lip. Next, I'll go ahead and drill the holes for the rear hookhanger and line tie (if the lure’s line tie is not going to be in the lip). I willalso drill a hole to accept the belly weight. The next step is to taper the nose on both sides and thentaper the tail. I can do this taper either by carving the taper with a goodcarving knife or I can sand the tapers on a belt sander. I’ll try to keep thesetapers as symmetrical as I can. You can see in the picture that the nose istapered about a quarter of the way back from the nose and the tail is taperedfrom about midway of the body to the tail. This taper may vary depending a loton the type of lure that you're making. Now I’m ready to start carving the lure. I will start bycarving the shoulders on either side of the back as in Fig. 1 above. I willcarve until the widest point on both sides is about the same width as what I'veleft across the back. I want those threeplanes to be basically the same width. You'll see what I'm talking about in Fig2 above. Once I get those flat planes carved on the shoulders I will roll thelure over and do the same thing on the belly. I originally started with four corners on the lure. Now thatI have carved those corners off, I have eight corners. Carve those corners offand that will basically round the edges of the lure for you. For you guys thatare carving musky lures or large swimbaits you will wind up with sixteen corners.Just carve them off like I did the eight corners. That should be enough tofinish the rounding of your larger lures. After I carve the lure I glue in the belly weight, the rearhook hanger, and the line tie, if there is one. My carving is now done. I’m going to sand the lure. I liketo use the fingernail sanding sticks that you find in the beauty department ofyour local shopping center. The ones at Wal-Mart are 100-grit on one side and150-grit on the other side. I use these because they tend to round the lurebetter than just sandpaper. Sandpaper tends to follow all of the contours ofthe lure and doesn’t give me that good rounded finish that I want. It’s just myway. Your way may work better for you. After I have finished sanding the lure Iwill sand the lure again with some 220/240-git sandpaper to give me a finalfinish. I give the lure a final inspection to ensure that I have allof my tapers symmetrical, all of my knife marks are sanded out, and the lurehas a general overall good appearance. My lure is now ready for a couple of coats of sealer. A few final notes: keep your knife sharp, take your time,and always check and make sure that you keep both sides symmetrical. I hope that you’ll give this a try. One you create your ownlure that swims like you want it to, there will be no holding you back. Good luck and I hope this helps. Gene Graham aka “Lincoya”


 1 point
 -
I guess I'm finally ready to do what I've been itching to do for years...get started making wooden cranks. Balsa or basswood, I guess. I've been doing some searching on different topics - wood choices, ballasting, line tie positioning. Before the water gets too cold, I'd like to start by cloning a 2.5 KO and I just have to wonder if I would run into trouble by trying to reproduce one onto a wooden platform? Is this sensible? I doubt I really want to copy the internals just the outside geometry, then balance the bait from there. Has anybody actually tried this? Also, down the road maybe, I might try using the square bill body and converting it into a deep diver. I don't have a duplicator, refuse to build or buy one, so the baits will be shaped by hand. I might get a countour gauge. I know these plastic baits have one or more internal chambers, but the shape seems pretty straightforward, with fairly flat sides, even tapering and a lack of compound curves. I ordered a 1/16 inch plate of polycarbonate yesterday. I find the wobble produced in water clear or murky, warm or cool.1 point
-
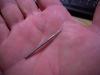
Hi there , people ,.............posted this little video of mine in the hardbait section before , ......some folks there advised me to put it up in the tutorials in here , so I'm linking it for one more time : These hangers displayed are pretty small , supposed to be rigged onto topwater lures for trout , .......using thicker gauge wire , one can certainly make bigger spreaders for muskie ,-or pike lures in the same fashion , ......in this case one would also have to use differently sized drill bits , nails , etc . to bend eyes and coils . Anyway , any questions are welcome and will gladly be answered ! greetz , diemai1 point