


Vodkaman
-
Posts
7,423 -
Joined
-
Last visited
-
Days Won
236
Content Type
Profiles
Articles
TU Classifieds
Glossary
Website Links
Forums
Gallery
Store
Everything posted by Vodkaman
-
It makes sense to make your own lips, it is the easiest operation in the whole process. It also means that you can make a lip to suit your lure design rather than designing a a lure to fit the lip. It is a bit like the tail wagging the dog. DAve
-
I love Photoshop. Great for those little repairs Dave
-
If you are not averse to breaking a few rules, just about every professional system is available on the torrent system. Many of these big CAD companies make their software available for free on the underground because the more people who can use their system then the more companies will buy it. I know for a fact that Catia employ this strategy, as I spoke to a Catia rep who handed me a disk of the software from his briefcase. I use Catia V5, downloaded on the torrent system. Dave
- 28 replies
-
- 1
-

-
- 3d
- 3d printed
- (and 3 more)
-
Wylder - I have done a little research, and this Oogoo idea looks very good. I just hope it works with the tapioca or rice flour. I will pick some up to try. Thanks. DAve
-
Wylder - I have looked for corn starch before and was unable to locate any. Tapioca powder might work for me if it is a reaction thing. Is the corn starch part of the reaction or just used as a filler? I guess that I have some experimenting to do; mix with water, white spirit, also I should have alcohol available in a couple of weeks, as I am building a still. Dave
-
Wylder - I will check out what is available locally. Importing is out of the question. The printer is not mine. I have to subcon the work out to a business. I really need my own printer but again, limited to what is available locally. When the mold is lightly clamped, just enough to get a seal, I lose the wall thickness. Yes, the bait is designed for polyester resin. I cannot find micro-balloons and so I have to adapt. Dave
-
Mark - that is a good idea, though I suspect that the material will still be too soft. The lure in question (hardbait) is hollow bodied with thin walls. What tends to happen is that the silicone compresses and I lose the wall thickness. I should have allowed for the compression in the design of the mold, but to re-do the design and 3D print would be another $120 for a lure that I am not sure will even perform. the lure is a totally original concept, a bit like a softbait paddletail. It should swim in a zigzag fashion with the hinged tail waggling like crazy. The softbait version has been prototyped and swims as stated above. Dave
-
What I do; is make a 3D print of a master mold. I then pour silicone into the master to make a working mold. Also, by designing the master so that the mold is symmetrical, I only need one 3D master because of the symmetry. I pour 6 x silicone pieces to make 3 working 2-piece molds. This way, if I wanted to increase production, I simply pour more silicone. My problem is that the only silicone that I have sourced locally, is way too soft for my purpose, and cures too fast. I tried pouring a hard material, Bondo filler style, but the 3D print mating face was not accurate enough resulting in a warped, leaky working mold. Silicone takes care of this problem, if I could find something slower and harder, but the idea works. Dave
-
Anglinarcher - another great read. DAve
-
Anglinarcher - very good read, informative. Dave
-
I too would say that $400 was very cheap for custom work. You have to keep in mind the process involved in creating a custom mold. It all starts with the CAD design work, were your model is input into the computer, even what seems a simple job can take a few hours. From there, the CAD model is expanded to include pour-spout, vents, alignment pins. Then the model has to be converted to a language that the milling machine can communicate with. The cutter paths have to be programmed, including tool changes. A simulation run and a test run will probably be performed to check for errors which could be expensive if things went wrong. Then the machining. Alignment pins have to be tapped and fitted and finally, a test pour performed. Well not quite finally, packaging, posting and communications. And then there are the running and maintenance costs that your job will have to share a portion of. Taxes have to be paid and accounted for. Time is money, and you will not employ a quality machinist for the same $$ rate that you are prepared to turn out lures for. 'Off-the-shelf' molds are a different matter. All the design, layout, tooling considerations and cutter paths have already been done, stored on the computer hard drive. For a one-off custom mold, more than half the cost is away from the machine shop, but you still have to pay machining rates. I am not a machinist, but just about all the design work that I do involves machinists, and so I am not entirely clueless on the subject. Dave
-
Bob - I agree; very nice action. I too have searched for vids but unsuccessful. DAve
-
Uncustered - The wood was albesia, an Asian wood, just slightly denser than heavy balsa. Very cheap, easily available as it is used in cheap construction and cheap tourist carvings. Dave
-
Here is a short video of the Bawal-12. Poor quality as I was evicted and lost all my tools and equipment, including my duplicator machines and test tank. Here is an early video (2007), I had not cracked hunting at this time and so repeatability in production was not there. The lure was resin and so not much waggle. In the video I show retrieval at different speeds to show the effect. You can see constant hunt and erratic hunt actions. Dave
-
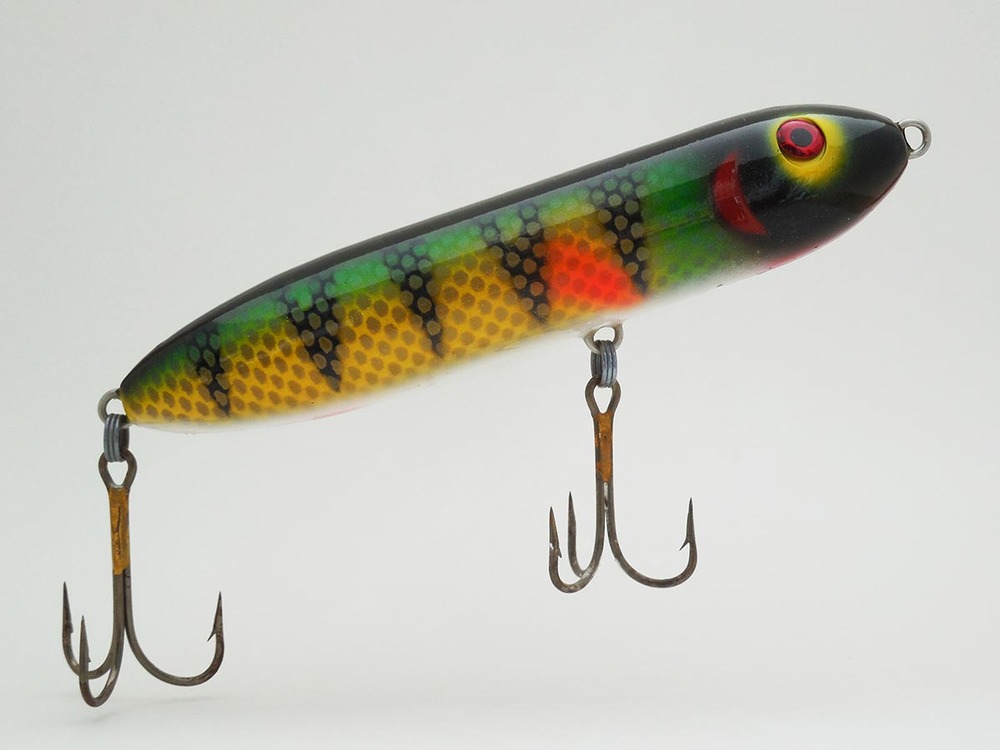
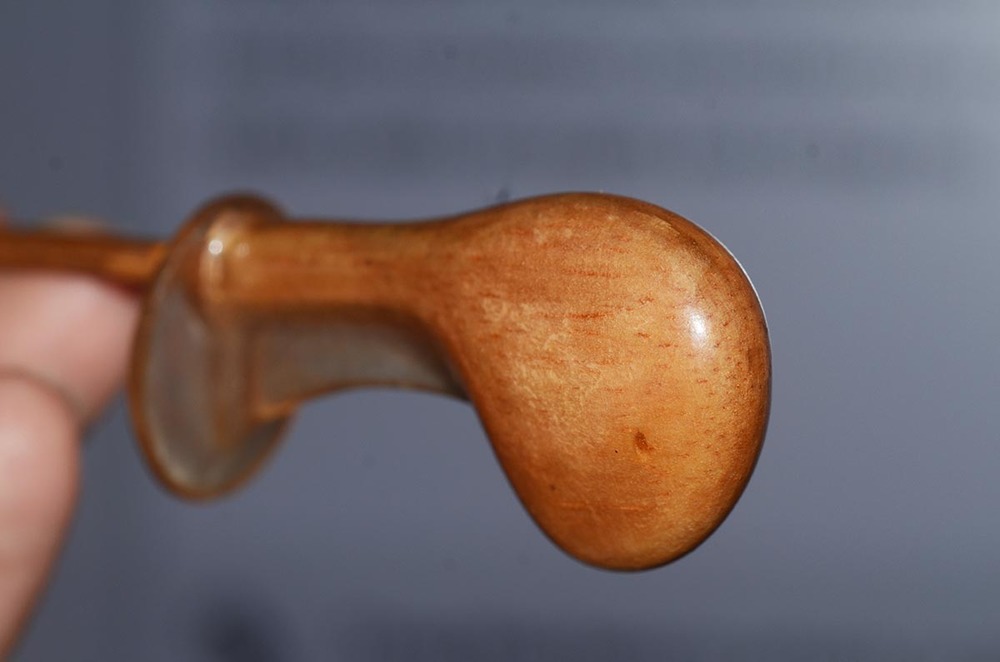
Clemmy - good post, thanks. Calden - good questions; 1 - body style. Pretty standard, see pics below. The length is generally between 1.5" and 4" purely because of the mouth size of the local Bawal fish which looks like a piranha. 2 - lip shape. I generally work with flat-bottomed lips, purely because they are easier to trim and keep symmetry. 3 - trim length. 1mm trims are about right. When you find the start of the hunt transition; even less. image 1 - My basic shape. I would make these 50 at a time on my duplicator machine. image 2 - The last lure that I worked on; Bawal-12. This is a small body 40mm long. I have also included a complete set of plans for bawal-12 including templates (see PDF files), also a video of the build. Dave bawal lure 12_Sheet_1.pdf bawal lure 12_Sheet_2.pdf bawal lure 12_Sheet_3.pdf bawal lure 12_Sheet_4.pdf


-
When I started the quest for the hunter, my first assumption was that the geometry was on the edge of stability, and the edge might well produce the zigzag of hunting. Having failed searching the stability idea, I then theorized that the explanation was a transition between two axes of movement. Of the three axes of movement; roll, yaw (waggle) and pitch, the only motion that was not evident in a regular crank was pitch. I then changed the lure geometry to find pitch (up and down movement) and it was then that everything started to fall into place. Hunting is the transition between yaw and pitch. Regarding the definition of hunting; my opinion is that all the mentioned definitions are correct. The yaw/pitch transition is not just one point, as the name suggests; it is a transition that occurs over a small range of geometry variation. At the start of the transition, the action is mostly waggle with the occasional nod. This gives rise to the erratic action of the lure suddenly changing direction and then changing back to neutral at irregular intervals. Half way through the transition, the action settles down to a regular zigzag that some would argue is not hunting. At the end of the transition, The action is mostly nodding which appears as no action, with the occasional and erratic change in direction caused by the odd waggle kicking in. The change from pure waggle to pure nod is a smooth transition with no discernable boundaries. To get the action that you desire, you must fine tune the lure to find the point in the transition that works for you. The ballast cannot be tuned without disturbing the paint and topcoat whereas the lip can be trimmed easily. You cannot tune the lure at an early stage because the topcoat will throw the geometry off and the effect will be lost. As a final note; in one of my early prototype tests, I stumbled across a hunting action that was unbelievably wild and erratic, so much so that I could not imagine a fish catching the lure. I have never managed to recreate this crazy action, but I will continue searching. I made the HUGE mistake of butchering the lure to make the next test thinking that I was in control and would be able to recreate the action – lesson learned. Dave
-
Bob - As Anglinarcher explains; raising the ballast will change the swim geometry some, but dynamic (in motion) forces are far more powerful than static forces. If the lure design is close to the hunting transition then raising the ballast may just make the difference. Personally, I don't consider the ballast, and leave it low down for vertical stability. The lip trimming method works every time for me. Dave
-
I have just received a PM message asking about hunting, so I decided to post my answer: Hunting In my early days on TU, I too found old threads on hunting, and I was very intrigued. The message then was that it was not a designable feature, but more pot-luck. There was even talk about harnesses made from brass wire produced more hunters. But, as an engineer, I knew all the above was nonsense, and so I set out to explain the cause of hunting and solve the riddle of building hunters with consistent success. This took many years and became an obsession. All lipped crank-baits are capable of hunting. It is just a case of finding the speed at which this occurs. I am sure you have noticed when you rip the bait through the water, sometimes it deviates to one side. You would probably dismiss the anomaly as a quirk, a water current issue, a fault in your lure build or it must have struck a bit of weed or a leaf and was thrown out of kilt. All these explanation, although plausible, were unlikely. You probably touched the transition speed briefly were hunting occurs. Hunting (zigzag motion) is a function of lip length, lip angle and retrieval speed. Theory 1 - The angle at which a lure swims in the water at a constant speed is determined by a balance between the lip and the back of the lure, all pivoting around the tow eye. Forces above the pivot point (eye) balance the forces below the pivot point and result in a swim angle and balance. 2 – The forces over the sharp edges of a lip are stronger than over a blunt or round surface. As speed changes, the forces over the lip change at a different rate to those over the blunt back of the lure. This difference in forces changes the swim angle of the bait; as the lure moves faster, the lip forces increase more than the back forces, this results in a steeper swim angle. 3 – as the angle of the lure increases there comes a point where the lip is perpendicular to the tow direction. The forces on the lip are now at their maximum. Any further increase in speed would try to force the lip beyond perpendicular and the effective lip exposure would be reduced. The reduced lip force has to balance the back force and results in a smaller angle. And so the lure ‘nods’ or ‘porpoises’ up and down. 4 – as the lure approaches this critical angle it just does the occasional nod. This interferes with the waggle. Think of it as replacing a single waggle motion with a nod motion. When you lose one waggle say the left side, then the lure receives a double waggle on the right side. This forces the lure to change direction. 5 – Now the lure is now swimming at an angle to the tow direction in plan-view. The forces on the edge of the lip facing forward are stronger. When the lip once again reaches the critical angle, the strong side triggers the nod and so the weak side gets two waggles and so the lure changes in the opposite direction, hence the zigzag motion. Design 1 - If the lip length is short, the transition speed will be high, and you may well never observe the hunting phenomena. 2 – If the lip angle is too shallow, the whole lure would be swimming perpendicular to the tow direction. The lure would likely blow out before the transition is reached. In any case, the swim angle would be beyond the optimum dive angle and the lure would swim shallow but with a large thump due to the large diving lip fighting against the water. And so, hunting lures are shallow to medium depth lures only. The trick is to design the lure so that it hunts at the speed that you want to retrieve the lure. Retrieval speed – I like 2-cranks of the handle per second as a comfortable speed. Keep in mind that the hunting is only going to occur at one speed. Slower and the lure will give the regular waggle, faster and the lure will porpoise continually and possibly blow out. Lip angle – I design my hunters with a lip angle of between 45° and 60° to the horizontal. A steeper lip angle will reach the transition sooner than a shallower angle, but the depth of swim will be shallower. If you want a slow, sub surface hunter, then a 60° or even higher will do the job. If you want a little more depth, a 45° or even less will give you say 4’ – 6’ but you may have to retrieve faster. Build Obviously a test tank large and wide enough would be ideal for testing, but a battery powered Dremel at the lakeside will do the job. Make the lip too long, so that there is no waggle. If you look closely enough you will observe the porpoising effect. Gradually trim the lip length back until the hunting starts. There is a lip length tolerance for the hunting effect, the trick is to stop trimming at the maximum hunt, but the only way to know what is the maximum is by trimming more and losing the maximum. I build my lures 10 at a time. I waste the first one to find the maximum hunt effect and then trim the rest accordingly. The trim operation must be on the final assembly; with hooks and topcoat. I suggest one or two lures without the fancy paint job, but they must have hooks fitted and the same top coat. Dave
-
Mark - interesting information and a good explanation. Thanks. Dave
-
At a friend's school, a young lady investigated resistance to nail polish chipping as part of a science project. Below are the images of her presentation. I was impressed and though I would bring the findings to you guys for some professional feed back; which brand do you think is best? Dave
-
Thin CA (superglue) makes a good sealer, and only takes minutes before you can float test. Spread it with your finger and use acetone for clean-up. Don't float test without sealing, the body will soak up some water which will come back to bite you later on; that extra moisture that you have locked in will swell the bait if you leave it in the sun for ten minutes and possibly split the topcoat. Dave
-
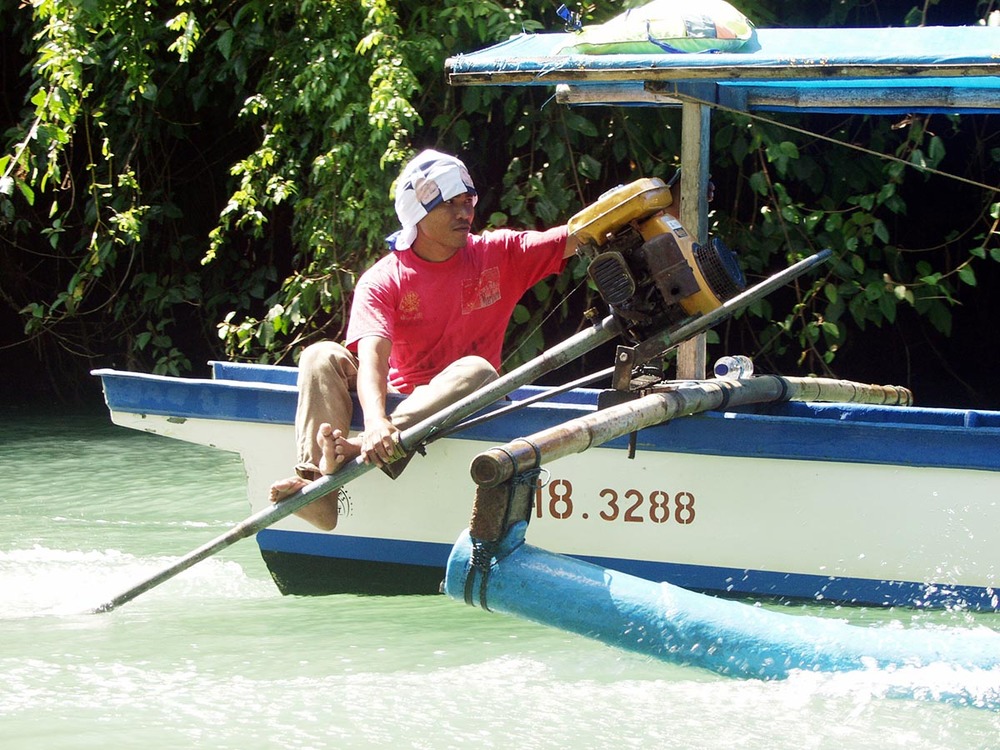
The 3-Mercuries seemed like a good idea at the time, but the driver was too close to the edge for my liking. Give me one of these any day:
-
I too have used plasticine, it helps to control the split line, also the bubbles rise away from the master. The plasticine melts with the heat of the curing PoP and it all gets a bit messy, but that does not matter because the mold is already formed by that stage, and a little staining from the plasticine does not affect anything. Dave
-
I do not limit myself to a single material, I imagine the shape and choose materials that suit what I am trying to achieve as simply as possible. Here are pics of a prototype idea master that I made several years ago. The body is carved softwood, similar to balsa and very easy to carve. The paddle and web are made of shaped polycarbonate sheet. The whole thing is glued together with CA glue and coated with D2T epoxy and rotated for a smooth finish, strength and integrity. The thin tail section could have been made from dowel, and the separate parts could have been filled with filler for smooth transitions, but that was not necessary with this 2” swim-bait. The final master was strong enough to withstand molding in a one piece silicone pipe-mold, which was split with a razor for access. Dave
-
You could pour an epoxy to save as a master. Check for shrinkage on the packaging first. I have tried polyester resin but the shrinkage was too much. There may be other suitable hard materials. Dave


