CarverGLX
-
Posts
208 -
Joined
-
Last visited
-
Days Won
3
Content Type
Profiles
Articles
TU Classifieds
Glossary
Website Links
Forums
Gallery
Store
Everything posted by CarverGLX
-
Same here. Hope I can test them in creek today. I got DRS version.
-
Order placed.
-
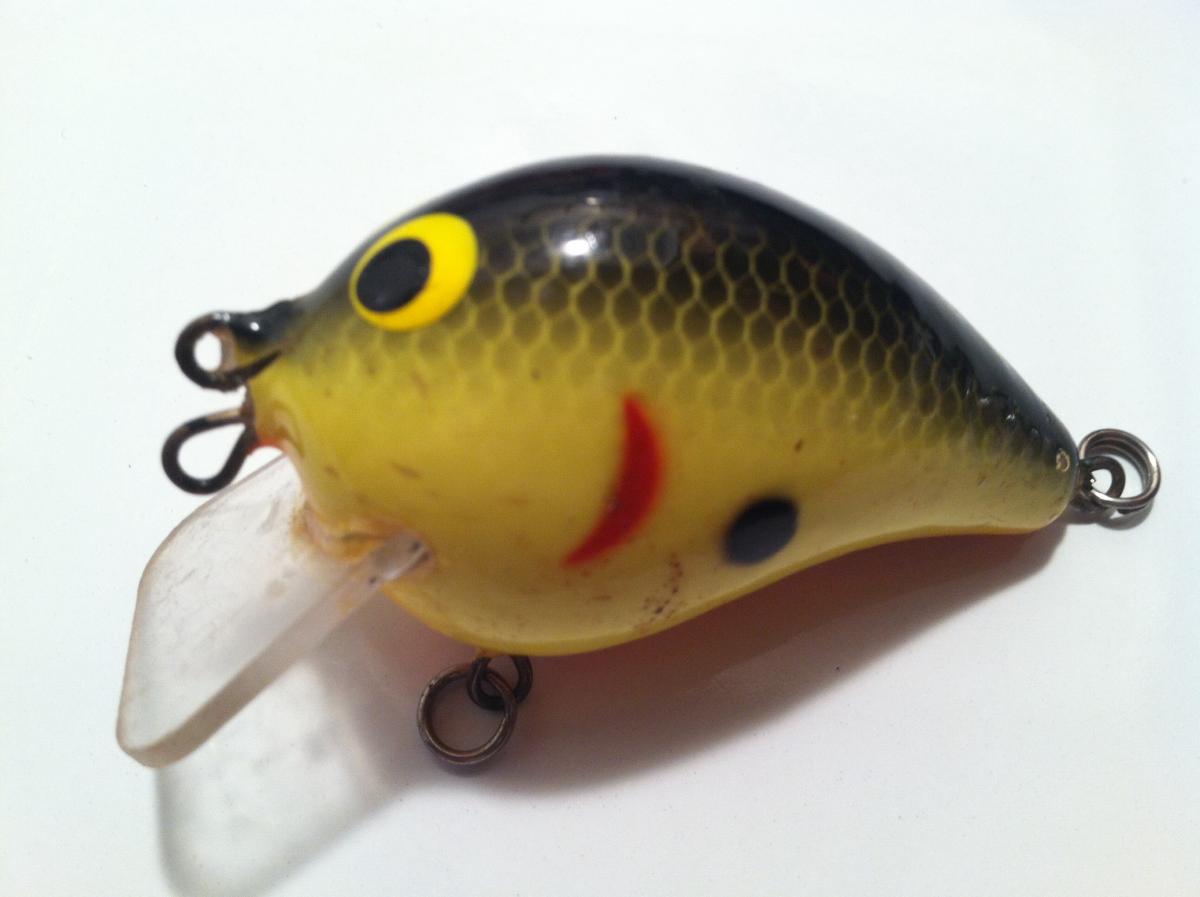
You could excellerate the lead oxidation before putting the ball into a chamber in the plastic bait. Preditor baits is attempting to remake the wart right now from the other wart post. They look great in the pics. I believe this action is much more than just the lead ball sticking however. Looking at many of these baits there is great inconsistency (storm. Not preditor). I have warts you would swear are smaller or thinner than a standard wart. They aren't wee warts either. I have others that have dimples in the bills. Some line ties are barely exposed, some way out and exposed well.... The wart action is a combination of factors: Sticking rattle Thin lip edge Slight lip curl Tow point placement Lip angle Lip area These last three resulting in presentation of area of lip that is subject to diving force. A bait that had a rattle that would occasionally stick would be a good option and should work. If you make it though everyone will call it junk. The public expects lures to work as machines and would consider this a flaw. Great idea though from a fish catching standpoint. Some mechanical system that doesn't rely on oxidation would be best from a sales standpoint so it is without doubt intentional. Some have previously mentioned magnets. Wart success came from people using the baits and catching fish and large distribution. They built them to SELL. Fish catching came as a nice bonus and all this is likely a fine coincidence, occasional slop, multiple molds...... You must build a bait that is right to the point of blowout from the three lower factors above. Even then you will make some that won't run due to inconsistencies. So... You must make something consistent enough to sell, tweaked to the point of instability, but not so far as it create a lure that won't run for Goober to complain about. Lol. If you are building them for yourself you can build them right to the edge though. Good luck.
-
I'm not really sure but I think it's kind of a ozark regional cult following. It will work other places though. Maybe the fish just don't see a whole lot of pepto colored baits or had an upset stomach.
-
-
Most coveted that I know of is a "red prismflash crayfish". I think it's v196 but not certain. The colors mentioned are the best to use though as nobody in their right mind would throw this.
-
I posted a paint schedule on bbc a while back. http://www.bbcboards.net/rod-building-tackle-making/439379-wiggle-wart-missouri-craw-copies.html
-
Yes. Talking about all the wires being brass. There are several that some of the wires are brass. I haven't seen double line tie baits that had all brass wires before.... Know what it's worth?
-
Bottom and brass hanger
-
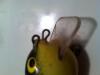
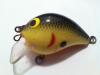
I have came across a weird bait. It's a bagley b1 with brass line ties and hook hangers. What makes it weird is it has double line ties. I've seen double ties on b1 baits before but never on a bait with all brass hardware. I've looked but not been able to find any info on this specifically. The only info I've seen said that double ties with all brass don't exist...? The paint pattern would suggest a later series than the highly sought after early ones. This one is not in pristine condition either. I know this is a tackle making site but the wealth of fishing knowledge on here would likely be helpful. I just thought this was strange/interesting. Anyone got any info?
-
Found them....
-
Maybe a bandit. I have a similar flat side crank that I tried to find out the ID of. Turns out it was a bandit. Not the modern plastic ones but it's predecessor. I'll see if I can find a pic.
-
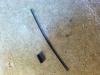
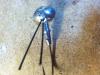
I use AFW Surflon seven strand. Either 90# with the nylon coating burnt off or 60# coated. The size of cable will change with the size of the gap of the hook. Using #1's or 1/0's though like most do for this 60# is best to me. I use spinning rods for whacky worms and floating worms though and you may like a stiffer guard than I do. If you burn the coating off you have to clean the cable up a little and seal the ends to keep them from unraveling. I heat the tag ends and do a quick swipe through clear powder paint. There is no real need to cure these.
-
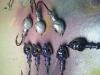
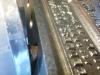
I have airbrushed some jigs. I don't think it makes a big difference but will do it from time to time. I first cure a base coating of powderpaint. Next, I airbrush whatever color scheme using createx paints. Then I reheat the jig in the oven (could use a heat gun if you are careful not to scorch) and swish in clear powder paint. Then I cure the jig again. It's lots of trouble but you can make some really neat stuff. For example.... a brown base and dark brown to black splotches made with a toothbrush or airbrush for a neat craw pattern. The jigs in the thumbnail were done this way. You could do scales or whatever of course but these are lots of irridecent blue, greens, and purple spatters. They also have hologram silver glitter. The eyes on these are stuck on with a drop of D2T. Depending on what eyes you use and how hot you get the oven you can cure the eyes under the clear powder. I have done it that way before with some of the 2D eyes. Haven't tried the clear powder over 3D eyes yet. I had concerns about yellowing/scorching/bubbles but need to try to see. There are lots of possibilities with this method.
-
I use some of the BOSS powder paints and haven't had any trouble. They have been great paints for me. Many of BOSS's colors are not standard powder paint. I'm assuming that these aren't the colors like black copper chrome (copper vein) or any color ending in "crustacean" right? These colors are textured paints (leatherette and veins). If paint is applied very lightly they often won't have much texture which may give your 50% or so results. I use a dull spiderco knife to burnish heads before painting. Very fast and works great. It just smooths everything out instead of making lead dust as well.
-
Other tips..... When you tie the cable on the hook shank put a few wraps closer to the eye of the hook than the cable. This will allow you to adjust the angle they want to stay at. By turning the loop of the doubled cable toward the eye of the hook and using straight shank worm hooks you can make a keeper that is better and more durable than any of the options using heat shrink tubing. Adjusting the size of the loop and the diameter of the cable will adjust how well the keeper holds the bait in place. It works for anything from finesse to flipping hooks. When you tie them on use acetate floss. http://www.jannsnetcraft.com/synthetic-body-material/630604.aspx Once you have them tied you can put a drop or two of acetone on the threads causing them to melt. This leaves a very good finish that will never come untied. Fly tiers use it to make hard ant and bug bodies. Some major brands use it when making feathered trebles as well.
-
Excellent Ben. Thank you.
-
I've done some research on here about painting jointed baits and ran across the idea of using a hacksaw to hold the bait... Great tip. Wondering mainly about clearing the bait after paint. I've done a Magic swimmer before, never again. Looking to foil and paint a triple trout but don't know how to clear without getting in the joints. Be really careful? Lol
-
Thanks JBlaze, Hope to give it a go in about a week.
-
Revision: The rack idea.... Poor choice. Baits all lined up and touching.... Poor choice This resulted in a sticky situation. Blow epoxy out of hole... Bait in close proximity to each other.... You get the idea. Baits are all hanging on hooks now. The dipping the loop and heat gun part is ok. Got a little over zealous with the heating on a section of them on the rack. Just need to do one at a time and hang. And take your time when heating. Results are pretty good.
-
True. It's not perfect. Even in the same board I fall in a range of +/- 4-5 grains per blank. Other things like epoxy getting thicker as it sets effect it too. It's just a good starting point for me.
-
When I put hook hangers in a balsa crankbait I superglue them in place and put epoxy on the outside "cup" of the hole. I had been doing this with a wire. I discovered (I think.... if someone has posted this I appologize) a better way. Once the superglue sets up holding the hanger in place I dip the hanger itself (the outside loop) in epoxy. This looks like a huge mess to start. Then I place the bait in a rack that holds the tail end of 20 or so baits vertically. I then take a heat gun and blow the epoxy... It melts and goes in the hole and leaves the hangers clean Any excess is wiped or later sanded off. Any bubbles from the hole rise and pop. Any left on a hanger is quickly removed after drying with a red hot wire..... Respirator please. "I don't think I had this many tumors when I came in here.'" Less aggravation, to me, and better result than drop by drop with a wire.
-
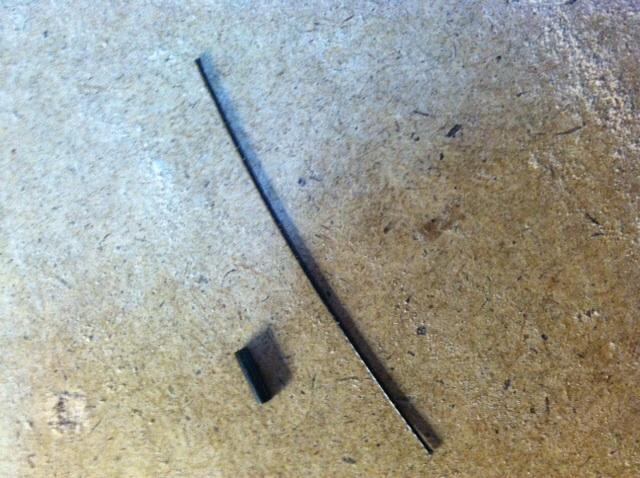
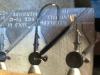
Originally sent this as a private message but thought that several will benefit from this and don't plan on making a living making baits anytime soon. If anyone has listed this as a method before I apologize and I'm not trying to steal your thunder. So here goes: Whenever I first started pouring jigs I did so because I wanted wire guard jigs and there weren't a lot of options. I tried several different methods of putting in wire guards..... many of which are listed above. One day I got tired of guards falling out with the various methods and decided I would come up with a way to have the wire/cable around the hook to prevent this from happening. The insulated coverings worked but were aggravating and stretched, burned..... So I tried to come up with another collar idea to keep this from happening. I needed a stiffer more durable tube.... something metal. It hit me... the metal sleeves used on the cable in the first place! These sleeves are perfectly sized to two strands of the cable and are made of steel. The 90# cable that others are using is what I generally use and fits perfectly and tightly into a size 4 sleeve. I sometimes also use 135# cable for flipping jigs which will fit into a size 5 sleeve. 100 of these cost around $5 and they are indefinitely reusable. To make this happen cut a length of wire (4-5 inches) and double it over forming a loop. Insert the tag ends into the steel leader sleeve and adjust the loop to what will be left in the head. Run the loop over the hook shank and pour. Never get it out without remelting. Wires also generally sit side by side in the mold instead of front to back. The football mold that uses the FG-12 guards may have to be slightly modified to do this. I am away from my pouring stuff at the moment or I would check mine. Go almost into the mold using an 1/8" bit and a drill press. Or an easier quicker option is to close the mold on a bit with a hand drill and a partner and slowly apply tension to the handles to close the mold on the bit held at the depth you want it. I suggest as close as you can get to the cavity without going in. this keeps the wires tighter and prevents much flashing. Other important tips: -remove sleeve and separate wires before powder paint curing -clean powder paint off wires before curing with your fingers -Trim wires evenly to about the barb of the hook or a little shorter. -Larger size hooks take heaver cable to get the weedguard effect. Bending forward and bringing wires together helps too. !!!!!---Burn coating off the wire that will remain inside the head as it will create a gas bubble when pouring.... hollow pours. -you can also burn all the coating off a strand of wire to get a lighter flex wire. !!!!!---- Wear a respirator when burning off coating. Burning vinyl isn't very healthy. -Hold the spout slighly off the mold (still touching but not pressed tight) and slightly tilted when pouring to avoid flash and partial pours. Hope this helps and give it a try. Wire guards are worth the effort.

-
A guy told me once that he really liked the look of my baits (hand carved) but you need to be a "real craftsmen" to be able to make them all the same. Sounded like a challenge.... and here we are. I'm generally within about 4 grains+/- on baits from the same board....Having a mistake that requires sanding gives me fits. I dont want to have to touch it if I dont have to. It's going to happen though. BobP, I agree most hobby makers wont go through the trouble. You can't even think of all the trouble to begin with. Fun figuring out all the problems and talking on here too.
-
![IMG 0611[1]](https://www.tackleunderground.com/community/media/gallery/category_8/sml_gallery_22736_8_923748.jpg) Thanks guys.
Thanks guys.