


Anglinarcher
-
Posts
1,607 -
Joined
-
Last visited
-
Days Won
88
Content Type
Profiles
Articles
TU Classifieds
Glossary
Website Links
Forums
Gallery
Store
Everything posted by Anglinarcher
-
Wow, Swimbait, you ask some deep questions! LOL Bob has explained why I think most like ties are vertical versus horizontal, but not all. When I first saw the River2Sea S-Waver with the horizontal line tie I was surprised because it is made in two halves like most commercial baits. But, for that swimbait, I believe he hit the nail on the head with he mentioned For their bait, it seldom needs to have any side to side adjustment but up or down adjustment is a common issue for them, especially once slammed into rocks for a few hours. OUCH! Also, it looks more streamlined on the S-Waver because it fits the profile of the nose better. LOL So, vertical versus horizontal may be a case of manufacturing ease, or tunability, or even looks, depending on the design. Line tie orientation on jigs is a different thing, and they to come in horizontal or vertical. The horizontal work better with Chatter Bait type set-ups. The same set-up may give advantages to other rigging options, like not being effected by the line slipping forward or back. Vertical line ties are a little less likely to get more weeds because it is in line with the hook already. Mark, well mark just went off and got super deep. So true, so very true. Not just lipped crankbaits. Lipless lures, like your swimbait, still have control surfaces and it is a balance between control surfaces that we are trying to achieve. Sometimes a vertical line tie allows more tunability, sometimes a horizontal, sometimes it just doesn't matter. Like I said, deep my friend, deep. I like that!
-
You have a winner there. Larger baits will have a wider swim and a longer glide, but still, that is awesome.
-
If you want to have fun, buy and mold Tin or Bismuth. Both are moldable in the same molds. But, if we are worried about the cost of lead, check out the Bismuth - ouch!
-
What is the best material to make mold out of?
Anglinarcher replied to Jl12345's topic in Soft Plastics
Just be careful with what master you use with a platinum cure. They will not cure when in contact with some chemicals/materials. None of the major Silicones by Alumilite or Smooth-On need degassing, but they all benefit. And, as Landry indicated, the quality of the master/blank is transmitted to the mold; if it is shiny, your final product will be shiny, but if dull, or has a surface defect, so will the mold. -
I think 2 coats are prefered by most of us on this site, but most commercial baits by the big names would probably only use 1 for cost and economics. But, I think I know you a little now, and you won't be happy without providing the very best you can. Well done Sudd, Well done.
-
I think that I would like that. Feel free to start it. Now that Swimbait4life has got his working, I think it might be a good idea to focus on his issues, if he still has them. So very true. I have a 4 inch that swims up to 4" to each side for a full 8" "S". I bet there are others out there that can beat mine. Mine does not want to glide as much as I want; I think because it keeps wanting to turn. I can explain that, but if I had a test tank with tracer trails it would be easier to verify. Start the topic and PM Dave (Vodkaman). It sounds educational.
-
Excellent. I would bend the line tie a little first to see if I could get it to even out first. But it sounds like you are on the right path now.
-
Pictures can lie, but one looks great to me in the picture. Are there any thin spots? If we were doing a Pike, Musike, Tiger or Wolf fish, then two would be great, but most Bass don't have that big of teeth.
-
You would need weight and volume to calculate density. The more volume, the more weight you need if you were trying to match that part, then adjust softener to get the proper "wiggle".
-
I like it, it looks good.
-
I like going to the S-Waver by River2Sea for examples on this type of bait. Notice that the joint gap is about the same as Swimbait4life's. I tend to like keeping the gap smaller and I have a design I am doing that keeps the gap smaller, but there is only so much you can do with a V-Joint design. I do believe that having a smaller gap to keep the water of the vortex from flowing through can help, but I do not believe that Swimbait's gap is to much, and I don't believe it has anything to do with their problem. On some of mine I have pushed the gap wider to allow more lateral movement and they worked fine, even better. Now I widen the "V" more. I suspect more research could be done on this subject, but as alluded to before, there really is not a force moving the tail left or right, it follows the front of the bait, which moves left or right do to reduced water resistance and the vortex alternates back and forth.
-
Very good point. Don't stress about it too much, but close is good. LOL - Yep I find that the joint is best placed between 40% and 60% from the rear, but closest to 50% seems to give the best Sinusoidal action. Compare the proportions to the River2Sea S-Waver. Actually, the tail does not swing, it follows the front which moves left and right. I know that this seems counterintuitive, but my videos slowed down show it does that. I wish that we could post videos on the site, but if you search the S-Waver or similar baits to see the action - just view them slowed down. Still, if you want to take down the mass of the tail, you can taper the bait from front to back. It improves the vortex some. I just don't want to suggest too much too fast. Start with the line tie, it is easy, fast, and you can screw the eye back where it was if it does not work. Check out the hinge to make sure there is no impingement. Then embed the weights with the information suggested above. THEN, if still necessary, we can tweak it with altered joint locations and profile adjustments. I think we can get it to work without all of that.
-
LOL, but you know we want to see how it looks in the end.
-
Welcome to the forum Swimbait4life. Good to have you here. I have been studying that style of bait for about 10 years now, and as an engineer, I can tell you that the water flows that create the action are fascinating. I am still not convinced I know even half about the complexity of it. You can do a search on this site for Vortex and on Google for Hydrodynamic flutter or Hydrodynamic Vortex to get an idea of the interesting science in it. Still, there are some things that are common with this type of bait that will help. First, a very low placement of ballast seems to work best. You have rough attached the weights low, and you will want to keep it low when you embed the weight. Once you get it moving left and right, it will roll out without this low placement. Next, water flows are critical so embedding the weight will make the water flow better. This will help more at low speeds. Chuck is Funny, but his items 1 and 3 are good. but, the line tie relocation is best because it is easy. Sometimes a little movement makes all the difference. The good thing about this is that it is easy and you can move it back. I suspect that you will find your current placement close to or even acceptable. Mark is also correct in that this style of bait Mark has overstated it a little IMHO. I find that I get the best results if the front section is slightly faster sinking then the back. Dead equal and the bait will work but want to ride high in the water as you retrieve it. Front light and the lure will run straight to the surface. But, I said slightly, and I mean it. To much and it will impinge the hinge joint. If I wrote a book on the subject I could not cover everything, but I think Mark may have alluded to the first thing I would check, and that is hinge freedom. The hinge must be as close to frictionless as possible. The joint must be very free to move. If it is moving at faster speeds but not slower, this may very well be the problem. Check it out. Does it stick at all? Even out of the water? Check these things out first. Get back to us and we can go from there.
-
Better get and use your manual for each airbrush. My Talon must have it removed and replaced from the back.
-
I do know that there is an air catalyzed epoxy paint spray painted onto walls. I have used it a couple of times on Government jobs in Cafeterias. It is pretty new, pretty good, but tough to work with. I wonder if this is the same stuff? When it was sprayed onto the wall, you had about 30 minutes to full cure.
-
It is not an epoxy but, per their words: "Alumi-UV is a single component, semi-flexible, extremely durable, clear doming and coating resin. Once cured with UV light (365nm), it produces a high gloss coating on paper, plastic, wood, metal, and more. Alumi-UV has a medium viscosity which is great for covering items and applying even coating to unsymmetrical shaped items. Multiple coats can be applied to build coating thickness. This one part system is shelf stable when stored between 55 and 80 degrees F. " Setting up the lights for production system would take some money, but for hobbyist, you can get UV nail cure lights used for manicures. Epoxies crack over time because they are two part, and that they always are curing for life. Slow cure epoxies are better, Bar Coating type epoxies are the best for durability and retaining flexibility, but they will have issues with extreme temperatures. UV cure items, like the white fillings in your teeth and AlumiUV cure until the active ingredients are used up and then they stop, so the flexibility is controllable. I will leave the link at the bottom. Personally I am shocked that it is not used more often. It is low smell, fast cure, strong, super clear, and if kept out of UV light then it will not harden in the can like the MC can. I know that not every product is the best for everyone, and I still have my lure turner in case I want to do some with Etec. My last can of MC was rock hard when I tossed it out (did not like the humidity in Louisiana). I wish there was a silver bullet. After all, Mark will tell us all we need is Sally Hanson Hard As Nails clear fingernail polish. He likes it, and yes, I have a bottle of it myself. (Don't tell my wife, she will not understand. LOL) Good luck on your search. There are so many opinions, so many options, and no one option is best for everyone. I like to use the redhead, blond, brunette, black hair women analogy. Which one is best? ALL OF THEM! https://www.alumilite.com/store/p/1027-Alumi-UV.aspx
-
I still think you need to look into Alumilite AlumiUV. Once set up, it pretty much meets all of your request. OK, at the strength of my UV, it takes 7 minutes, but close to your requirements.
-
I only coat once with Etec or AlumiUV over the createx/Powdercoat on jigs and I get excellent results. Yours should be at least as good as mine. PS, I don't even heat set my Createx on the jigs.
-
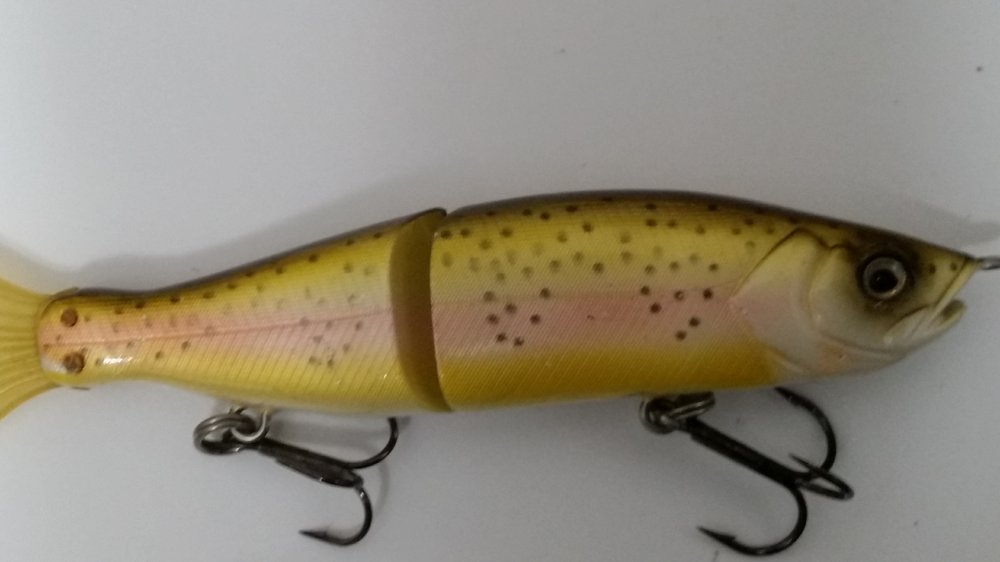
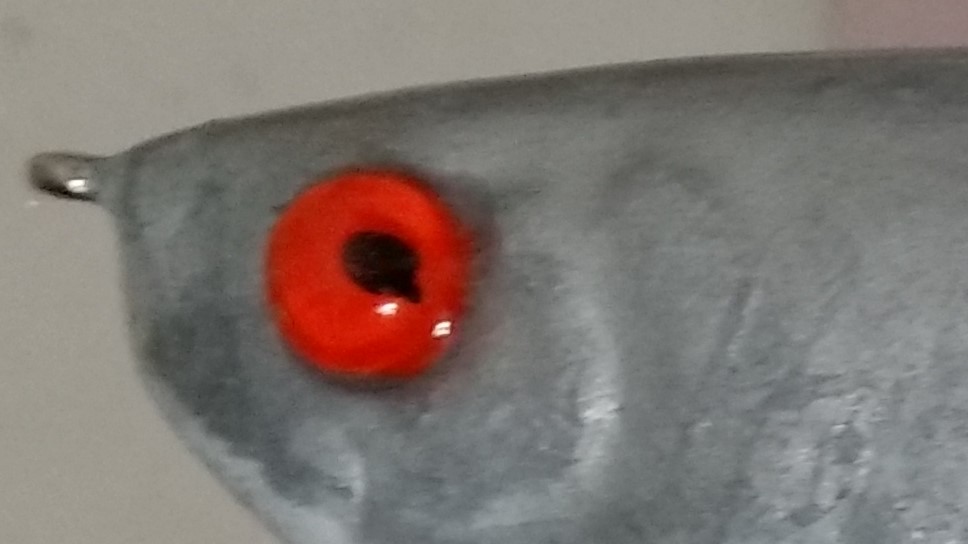
I have made 3D eyes, and the process I use is similar to Mark's memory. Just to clarify, you cannot dome paint on a lure consistently so I doubt that Paul Brown Lures are painting them. I used doll eyes that I got at a hobby house that were the size and shape I wanted. I then used contact adhesive and stuck them to some plexiglass. I made a mold box around the eyes and hot melt glued the box to the plexiglass to seal the bottom. I then poured in some Alumilite HS3 and let it cure (about a half inch thick). When I removed the box and Silicone I had perfect eye shapes. Once I had the eye shapes, I used and Alumilite clear resin, but as Mark suggested, a clear epoxy would work. I prefer the Alumilite clear, and would suggest perhaps https://www.alumilite.com/store/p/1023-Amazing-Clear-Cast.aspx. If mixed slow, few bubbles will be left and they will float to the top. If you indeed want just a solid color, you can add pigment. What I did istead is to pour the "eye cavities" full, use a syringe with some createx paint, inject a little into the uncured Clear Cast, then painted the back of the uncured Clear Cast. Once it cured, I got an excellent 3D eye. I attach the eyes with superglue and then clear coat over the eye and entire lure. I will attach a picture of a part of the lure with the eye on it. Sorry that the one I have a picture of is out of focus and not perfect, but it is something I had on hand. You can make the eye as large as you want. But, I do believe that the lure you showed has an eye done in two parts. A white stick on with a one color dome stick on, glued in place. I cannot tell if the lure was cleared over it.
-
Sorry, but it is different.
-
OK, I was wondering about if that was your question. To be honest, I use coffee filters I take from 7-11. LOL But it would be nice to have known hole sizes and options. First, so many different materials have been used because so many different paints require either different filters or different pressures for the air. My white reacts different then my black, in the same brand. I have different brands of Powder Paint and they seem to react different as well. At $80 a sheet, the sheets had better be HUGE. I think I will stick with my coffee filters, or paper bags, or tyvek, or .........
-
What is the best material to make mold out of?
Anglinarcher replied to Jl12345's topic in Soft Plastics
So, Ukraine is the new China? And to think, at one time the US, early in our history, we referred to as Yankee Traders (let the buyer beware). LOL -
I think we did not answer because we don't know what you are using it for or we don't know what we have ourselves. Perhaps if you can give us a little more information. It is rare that we have a topic that no one responds to on this site.
-
Yes, if you are not using steel blades, you do need to find a low temperature solder that will work on both the steel hook and the blade material. Flux might help, but I could do it without it. Sure wish I still had the stuff, but I stopped ice fishing years ago and so did not need the stuff to connect hooks to blades anymore. One other thing that can be done is to, well, epoxy the hook to a blade. You need to roughen up the blade surface some first. Then you can mix Tungsten powder into a slow cure epoxy. If you mix equal amounts of Tungsten Powder into equal amounts of mixed epoxy, it weighs the same as lead. My Tungsten Powder came from Alumilite and I used Devcon 2-Ton epoxy. If you roughen the blade it adheres just fine. But,


