Fishermanbt
TU Member-
Posts
165 -
Joined
-
Last visited
-
Days Won
4
Content Type
Profiles
Articles
TU Classifieds
Glossary
Website Links
Forums
Gallery
Store
Everything posted by Fishermanbt
-
I have ran through 3 gal of the 242, the 262 med/hard, and 1 gal of the soft. No issues and takes reheating punishment well. I’ve tried several other company’s plastics but this one is my favorite.
-
Do it mold 473507....any issues using a size 1 hook?
Fishermanbt replied to bassvoodoo's topic in Wire Baits
With the Ned worm I took a hole punch (I forget which size now) from Harbor Freight and cored out the center tail section. Then I used my Angling AI tube tail cutter block and spit the tail section. A sharp single razor blade would work too. -
Do it mold 473507....any issues using a size 1 hook?
Fishermanbt replied to bassvoodoo's topic in Wire Baits
With the jig head mold mod I figured it would be easier to go from the weedless version back to a 570 style hook. I started by placing the appropriate sized 570 hook in one cavity. Carefully close the mold holding pressure on the handles. Lay mold on a board or sold work bench so it is flat and the aluminum is fully supported. Give the top of the mold a firm strike or two from a rubber mallet. Repeat for each cavity. This should indent each cavity with the hook profile. Then use a small file to score the indentation. I found that the small coated needle files from Harbor Freight worked well. Slowly creep up on the depth on each side of the mold. Test and file then test again. Same principle with the hook keepers but I did not have to file them. A mallet whack or two seated them. The key is to go slow and be methodical about it. -
Do it mold 473507....any issues using a size 1 hook?
Fishermanbt replied to bassvoodoo's topic in Wire Baits
I modified my weedless Midwest to accept 570 style hooks and two different length wire keepers while still being able to use the Victory hooks when I wanted. Very easy mod to do. -
Do it mold 473507....any issues using a size 1 hook?
Fishermanbt replied to bassvoodoo's topic in Wire Baits
-
Water Based Air Brushing Soft Plastic Swim Baits
Fishermanbt replied to lp5935's topic in Soft Plastics
I have seen a few YouTube videos and read a few articles on home brew pvc based paint. I tried it out briefly but moved on to other projects. Just seemed like too much trouble in the long run. To each their own though. -
I’ve never tried it, but these guys have.
-
Just wanted to let everyone know that Bug Molds is having a 20% off sale now until end of the year. Promo code is listed on their website.
-
Hole punch the size eye you want in a thin piece of card stock, Christmas card, or heavy weight paper. I picked up a set of hole punches from Harbor Freight and a metric size set from Amazon. Place the hole over and center around the eye bump. Use a foam brush or just a piece of foam brush to dab on the eye. This should provide a clean eye dot since the card/paper will catch the excess paint. Once dry seal with some Sally Hanson clear nail polish or head cement. Same principle if using an airbrush.
-
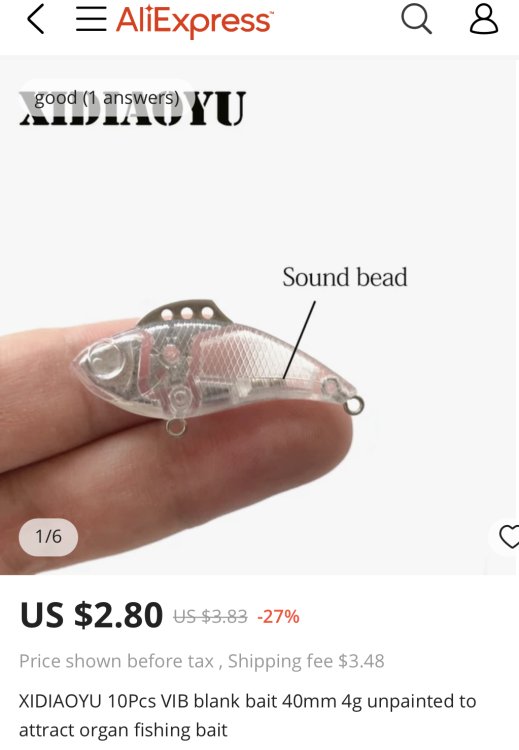
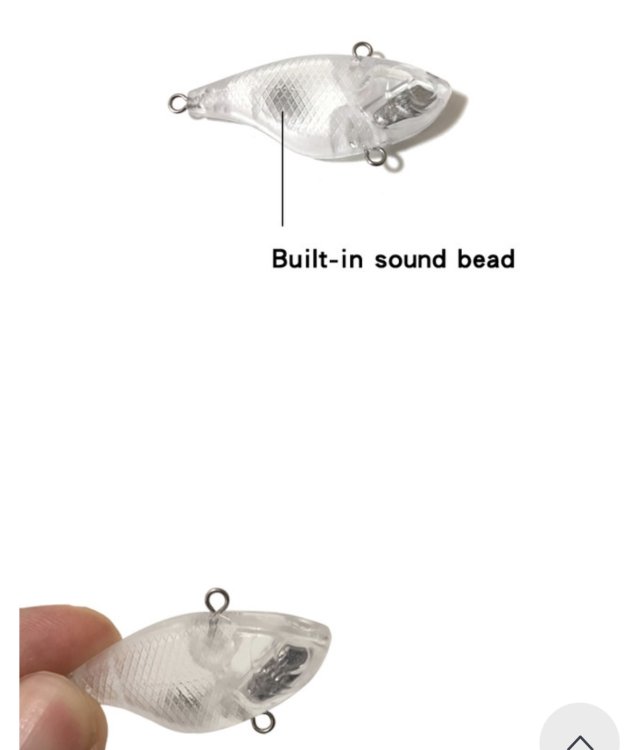
Would something like these work? I have ordered some tackle craft items from AliExpress recently and most items have shipped very fast.
-
somewhat close and available in aluminum. https://bugmolds.com/bait-molds/2277-54625-w681#/26-qty_of_cavities_in_1_mold-1_cav/32-mold_material-stone/34-injection_ports-1_for_all
-
As a matter of fact I just ordered some this week in two different styles from Aliexpress.com to chase the crappie.
-
Has anyone had any luck printing out a positive master and make negative molds with it? I’ve had some okay results making molds from FDM prints in plaster of paris, fast setting two part resin, and two part silicone. I’m pretty limited due to lack of skills in Fusion. Still can’t beat aluminum imho though.
-
If you used a soft plastic bait(s) as the master that is where you probably ran into trouble. Certain forms of silicone mold don’t play nice with soft plastics. I encountered this same issue while using a platinum cured silicone. Allowed it to set up for 8+ hours only to find the area around the bait I was copying was still gel like. Look at the description for cast-a-mold platinum silicone at specialtyresin.com. It gives some examples of materials the silicon is not compatible with. Don’t give up. There are workarounds to get the mold you want.
-
I have never bought stencils before but have considered it recently. I’ve made some for crank baits out of plastic and thick paper. As for scaling why not use window screen or some other flexible wire mesh from the the big box hardware store? Reusable, it can be cleaned and last forever. I would recommend cutting up a body scrubber/loofa but not sure how solvent based soft plastic paint would react with it.
-
What Cadman said. I will add that the powder paint that I have gotten from my local powder coating shop is usually much thicker than what we get from the tackle suppliers. Still usable you just have to find what it likes. I know my fluid doesn’t have the stamina to fluidize it. So I just dip from the cup. With some trial and error you will find the right count for heating the jig head with the heat gun. For example most of my 1/4oz jigs and paint prefer a 9-10 count in front of the heat gun. A little less for CS Coating’s powder. You want the jig just hot enough to have a dullness or mat color after it has been dipped. Then give it another shot in front of the heat gun and it will shine over. Then bake. You might also consider making a clamp to fit inside your oven to bake the jigs head up rather than hanging them. This has helped me reduce/eliminate cone heads. I made mine from angle iron since that’s what I had available and cut notches so they slide in where the wire rack is in the toaster oven. Bought silicone mats from Amazon cut them to fit, and nuts and bolts from Lowes.
-
Deer tails and other dressings as well as powder paint jars go into a clear tote with a gasket seal in the lid. I have found them at Target and Wallyworld. Other items like hooks I found some smaller clear plastic boxes with latch lids at the store formally know as the Dollar Tree. Beads, blades and other wire related items I store in Plano boxes of various sizes. I also leave the smaller items in their package so I don’t have to guess the sizes. I have also found it very useful to pick up some adhesive backed labels and a sharpie to label items in the containers. I will often times also put notes on the labels inside the container lids as a cheat sheet. Like what size eye or blade I need for a specific jig head.
-
I did my transaction with bug molds through PayPal so I had some hope I could have gotten refunded. I do however understand your concerns. Yes I believe he is a member on here-cnc molds and stuff.
-
bugmolds.com did a fantastic job cutting me a single cavity custom mold based on a number of pictures showing the measurements of the bait I wanted. I will note they are out of western Ukraine but communication from them via email was great and they were back to operational last I checked. I’ve been seeing many listings on eBay recently from them. Another place you might look at would be cncmolds.com. They have a Facebook page too if you do that-I don’t. I read on the website where he does custom orders. I picked up his 4 cavity twin tail grub mold awhile back and it is very nice.
-
I suck at math so this might not be correct. 1 gal plastisol = 16 cups. if you pour a half a cup and see how many baits are produced that would get the number of baits per gallon and cost per bait. 1 gallon plastic is say $50 divided by 16cups=$3.13 per cup. If you can make say 20 baits per half cup x 2 for a full cup=40 baits per cup. 40 baits x 16 cups= 640 baits per gallon. $3.13 divided by 40 baits= .078 cents per bait. Or price per gal of plastic divided by total number of baits produced in a gal of plastic. i hope this rambling of mine has made sense.
-
Bottom pour I’m guessing with temp knob on top? If it were me I’d put the pot on a surface outside of the living quarters, get a cheap small muffin pan from the store, heat the pot up on 6-7 assuming there is lead in it. DO NOT get any water in the lead!!! Once hot drain lead into muffin pan holes. Wear leather gloves trust me! Unplug let it cool. With or without lead, take screws loose that hold the plunger and remove plunger. Scrub inside pot and plunger with wire brush and steel wool to remove rust and scale. Make sure the divot in the pot where the plunger seats is good and clean. I’ve had to scrape around in that with a flat screw driver before. Just go easy. Refill the pot with lead and heat it up. Never run the pot on empty. I usually try to keep mine half full to minimize rust. Be forewarned, it’s a Lee pot it’s gonna drip some even perfectly cleaned. I should tell you here to use pure soft clean lead to refill. I would be a hypocrite if I did. Hard dirty lead like wheel weights are a booger to pour but doable. I just flux mine good in a junk cooking pot on a camp stove outside with a small chunk of wax to get the junk to come up to the top and skim off. Caution this will briefly cause a lot of toxic smoke and a small fire in the pot but it will burn off. Soft lead pours much better. The lead sinkers should do just fine. It’s whatever you have access to that has worked for me. As far as temp I pour most of my 1/4 oz jigs on the #4 setting. Some molds like it a little hotter 5-6. Again, this is just my take on it.
-
X2 on the above mentioned. Heat up pot. Use a spinner bait wire or paper clip in vice grips to insert into the discharge hole from underneath. Rather than Pyrex I use a cleaned out tuna fish or cat food can to catch the lead. Low profile and won’t pop from thermal shock. Work the handle up and down a few times while scraping around and up/down in the hole with the wire. Then use a flat screwdriver to twist the plunger rod left and right a few times followed up with a few quick lead flows with no wire. Sometimes the plunger with accumulate some scale on the end of it. See if that helps. If not, I’d suggest empty your pot, take the plunger out and give the inside a good scrubbing with a wire brush and steel wool.
-
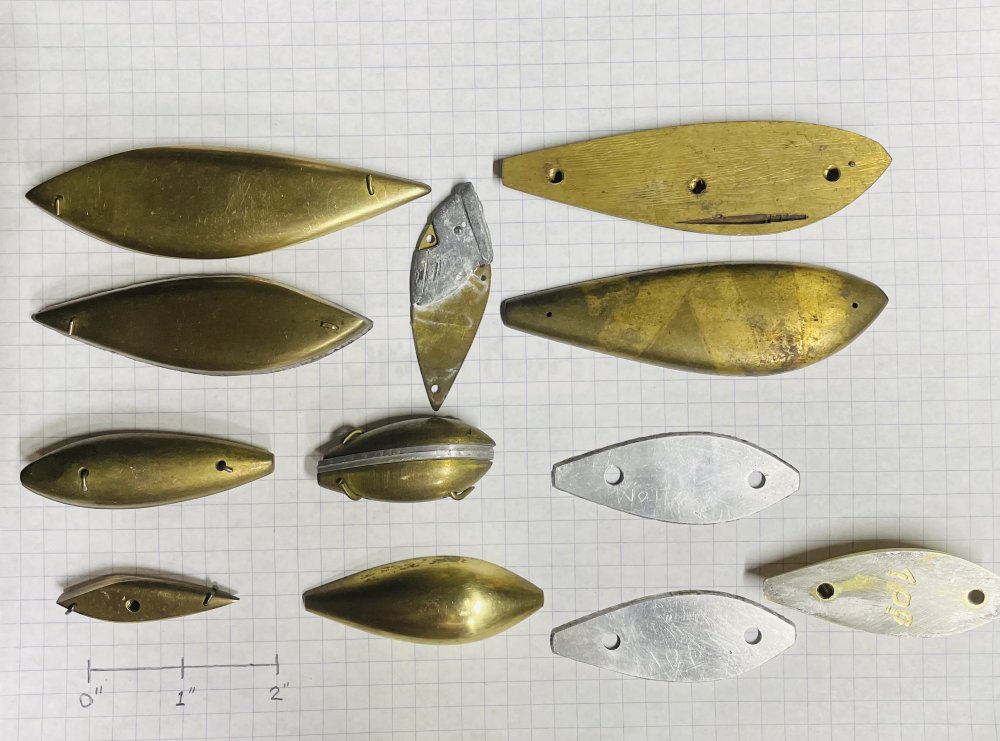
Would someone care to explain how these blanks were used to make crank baits? All are solid brass bodies except the blade bait and some have aluminum plates in the middle. Most of the ones that are not pinned together have at least two threaded holes inside. I assume they were used to produce two plastic bait halves via an injection or vac mold machine. Not even real sure what brand these would be from. Any help is appreciated
-
Ahh, my lack of attention to detail and posting while at work. My bad. Didn’t pay attention to the legs. Glad you found it though.
-
Bait plastics mentions shipping internationally but request contact fist. https://baitplastics.com


