Tuna
-
Posts
120 -
Joined
-
Last visited
-
Days Won
4
Content Type
Profiles
Articles
TU Classifieds
Glossary
Website Links
Forums
Gallery
Store
Everything posted by Tuna
-
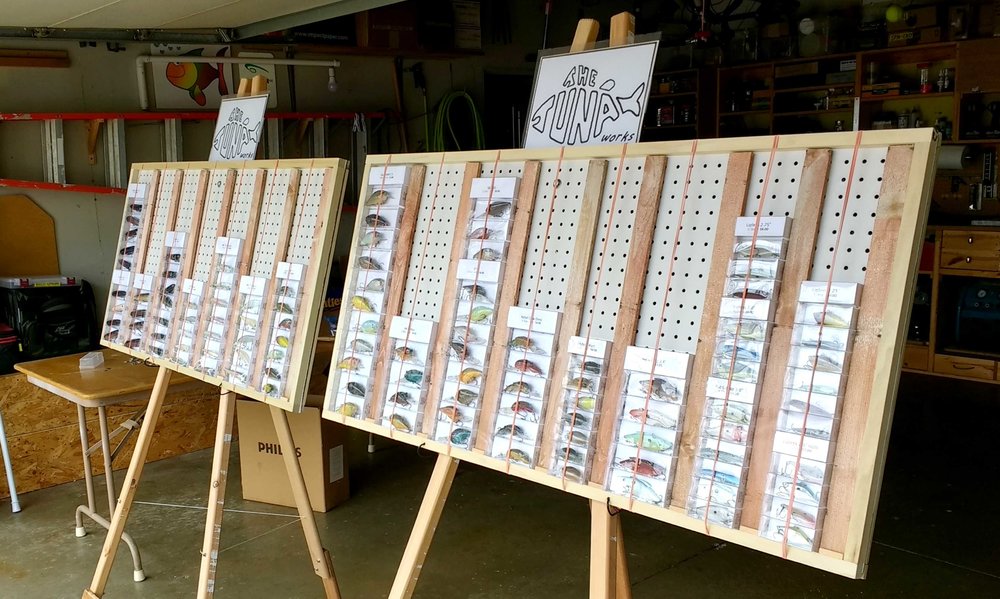
Easels 4' each. At a show they would be tilted inward in front of a 6' table. No issues.
-
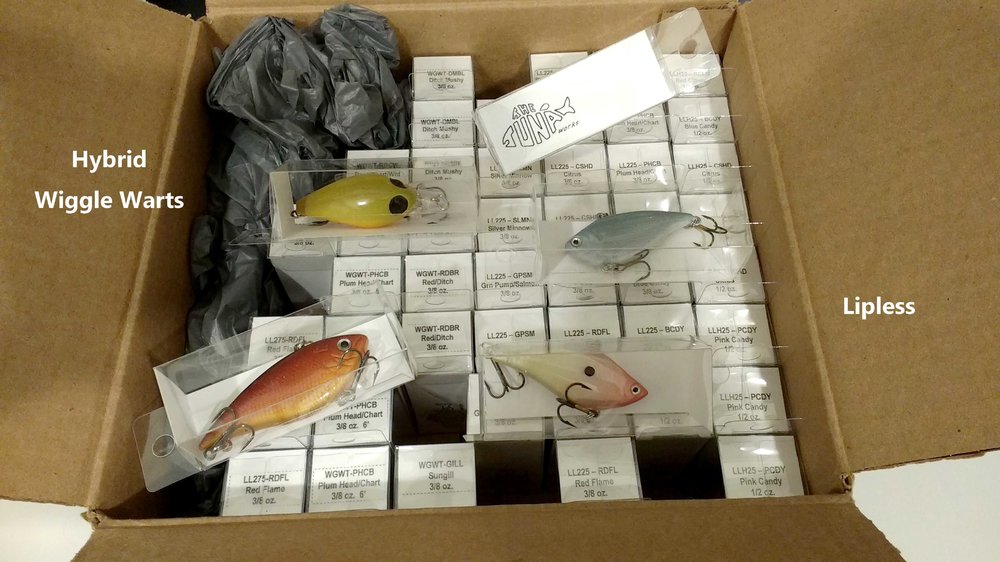
Here's what I decide to use for displaying baits.
-
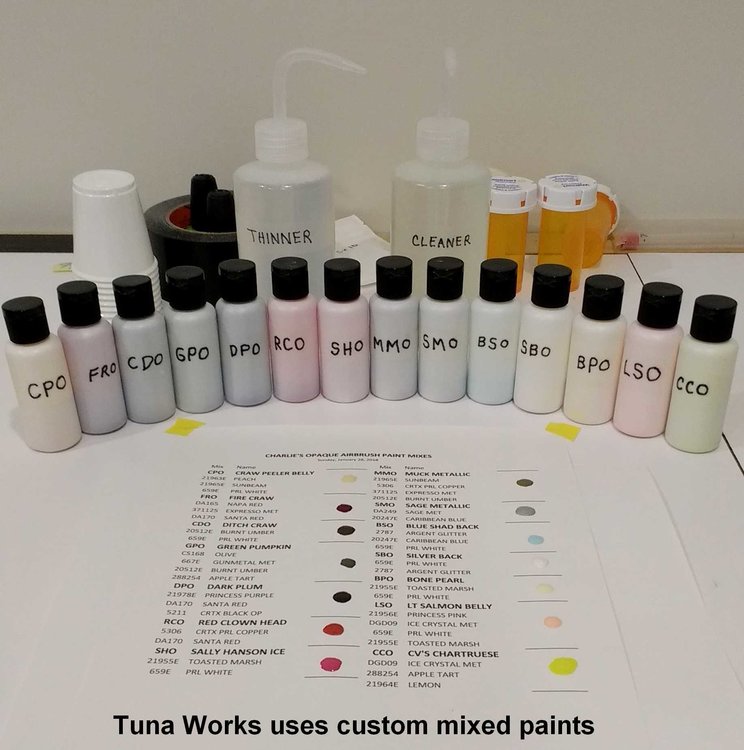
I paint 34+ patterns on 24 different blanks. Started the hobby in late January 2018. In all, I've spent just under 1k for equipment, custom mixed from recorded recipes and indexed cheap craft paints, misc materials and 360 blanks. Did my first invitation only shows for 5 friends last week to test out my creative patterns. Sold 36. I now consider some of them better friends. Looks like my decision to do more unique but sensible patterns is paying off. Nice to see photos with lure in a bass' mouth on facebook. Need to sell about 120 more to break even. No hurry though, I like them all and if I didn't sell another it would still be worth it for the experience!
-
I have now finished 300 baits with just 2 1/2oz of each part of Devcon 2-ton epoxy. Included in this number are 30+ spooks, sammy's and WP's. I use 2 oz. plastic cups. Place a cup on a digital postal scale and set the tare. Then weigh out 145g of hardener and 155g resin. Mix the epoxy for 30-40 seconds, then add 4ml of 91% isopropyl alcohol. Mix another 30 seconds. For application I wear a 5 mil latex glove from Harbor Freight using my index finger only. I have a small craft paint brush to hit tight spots gripping with my other fingers. Using this mix I can finish do 8-10 baits in 10 minutes depending on size. The isopropyl extends the work time also by 4-5 minutes. All baits go on a rotisserie for 30-40 minutes, then get hung to complete curing. I achieve a fairly thin coating so the blank's scales and gill plates show nicely.

-
I always wear a 3M double band particle mask. Change when it 's dirty, about 150-200 baits.
-
Have that covered. I wanted to display the bait samples and all the patterns out of the boxes. I'll figure something out. Thanks BobP
-
I'm scheduled to do a couple of small fishing shows with my created cranks. What is the best way to present them? I've thought about an album with hi-res photos of all baits and patterns. Also thought about a plexi covered show cases that I would make. Can anyone share a display technique that seems to work for a single table? I will have one helper at each event. Thanks. BTW, all is going well with my finger applying isopropyl 91% thinned Devcon technique. For some reason the isopropyl 91% leaves a smoother leveling finish than thinning with denatured alcohol. Any bubbles are removed with a blow dryer while baits are on a rotisserie. I can generally get 9 baits done with a 300 gram batch. At this rate, I will get more than 350 blanks, 40 of which are large spook type baits, done using my set of 4oz. bottles. Have to extend my thanks once again for the inspiration and advice posted to this forum through advice, articles, recipes and photos. The Tuna Works
-
Just thin paint more than normal, turn up air pressure and pulse your trigger. Many times I accidentally splatter but like the effect on most of my baits.
-
Airbrushing the polycrylic-food coloring worked well. I plan to try mixing with a semi-gloss polycrylic instead since there will be less solids to dull the finish. May make them a bit more transparent.
-
Chuck, the wide brush is working nearly as well as the finger method, plus it keeps my applying hand free for repositioning during application. I still like the finger technique since I can feel the amount I'm applying, then use the brush for touch up around hangers and tight lips. Finished 41 baits by 6:00pm yesterday. Examined many of them this morning. Great coverage and have hardened to where I could handle, but letting them cure another couple of days before starting a new painted batch.
-
Vendor says he will send replacements.
-
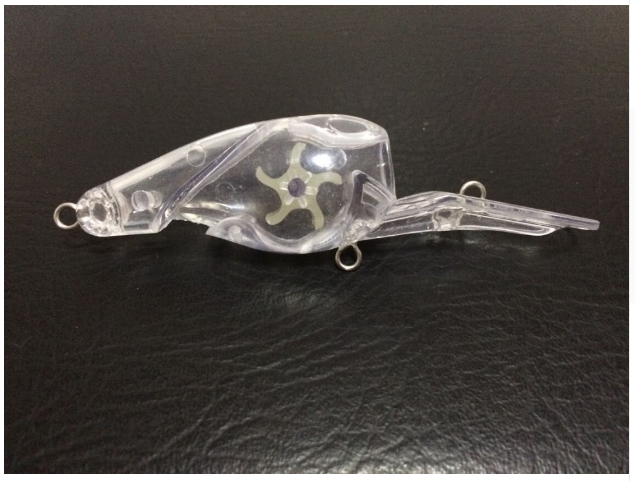
Don't know. A paddlewheel bait might be interesting.
-
Just wondered if anyone has tried airbrushing DIY mixed candy colors. Several mixing methods on the web like using water borne poly with food coloring or diluting acrylic inks. I know some of you must have experimented. Let's share!
-
Thanks for the quick replies.
-
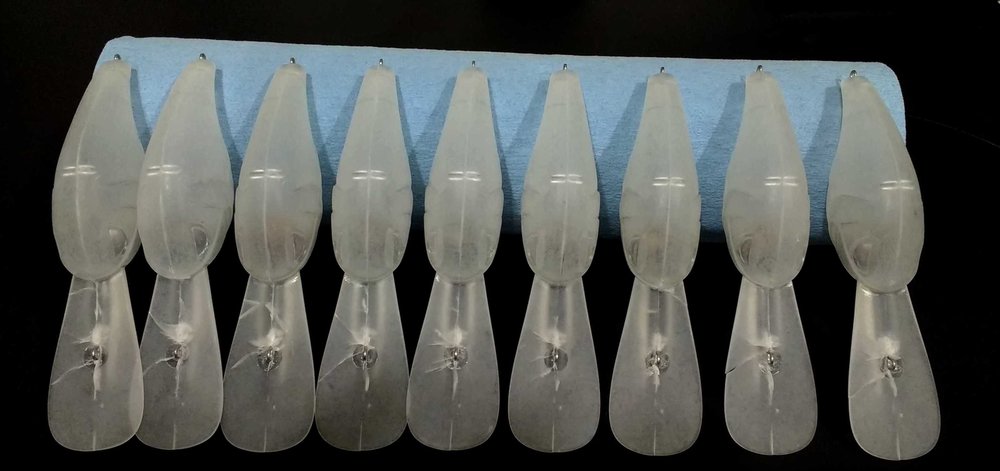
Bought 15 of these from Ali****ss, Shelt's. I wiped them down with isopropyl alcohol. All of a sudden I could see cracks in these frosty colored blanks. I prepped and wiped down 40+ in other styles and no cracks. Trying to get an order adjustment. I had 6 of the 15 ordered survive without cracks. If I don't get satisfaction, is there something I could dip these in to heal the cracks. What about acetone?
-
Found some other pics; Strange. Might have to buy some and use as low light diving buzzbaits.


-
Saw this on an Asian site. What is this a knock off of?
-
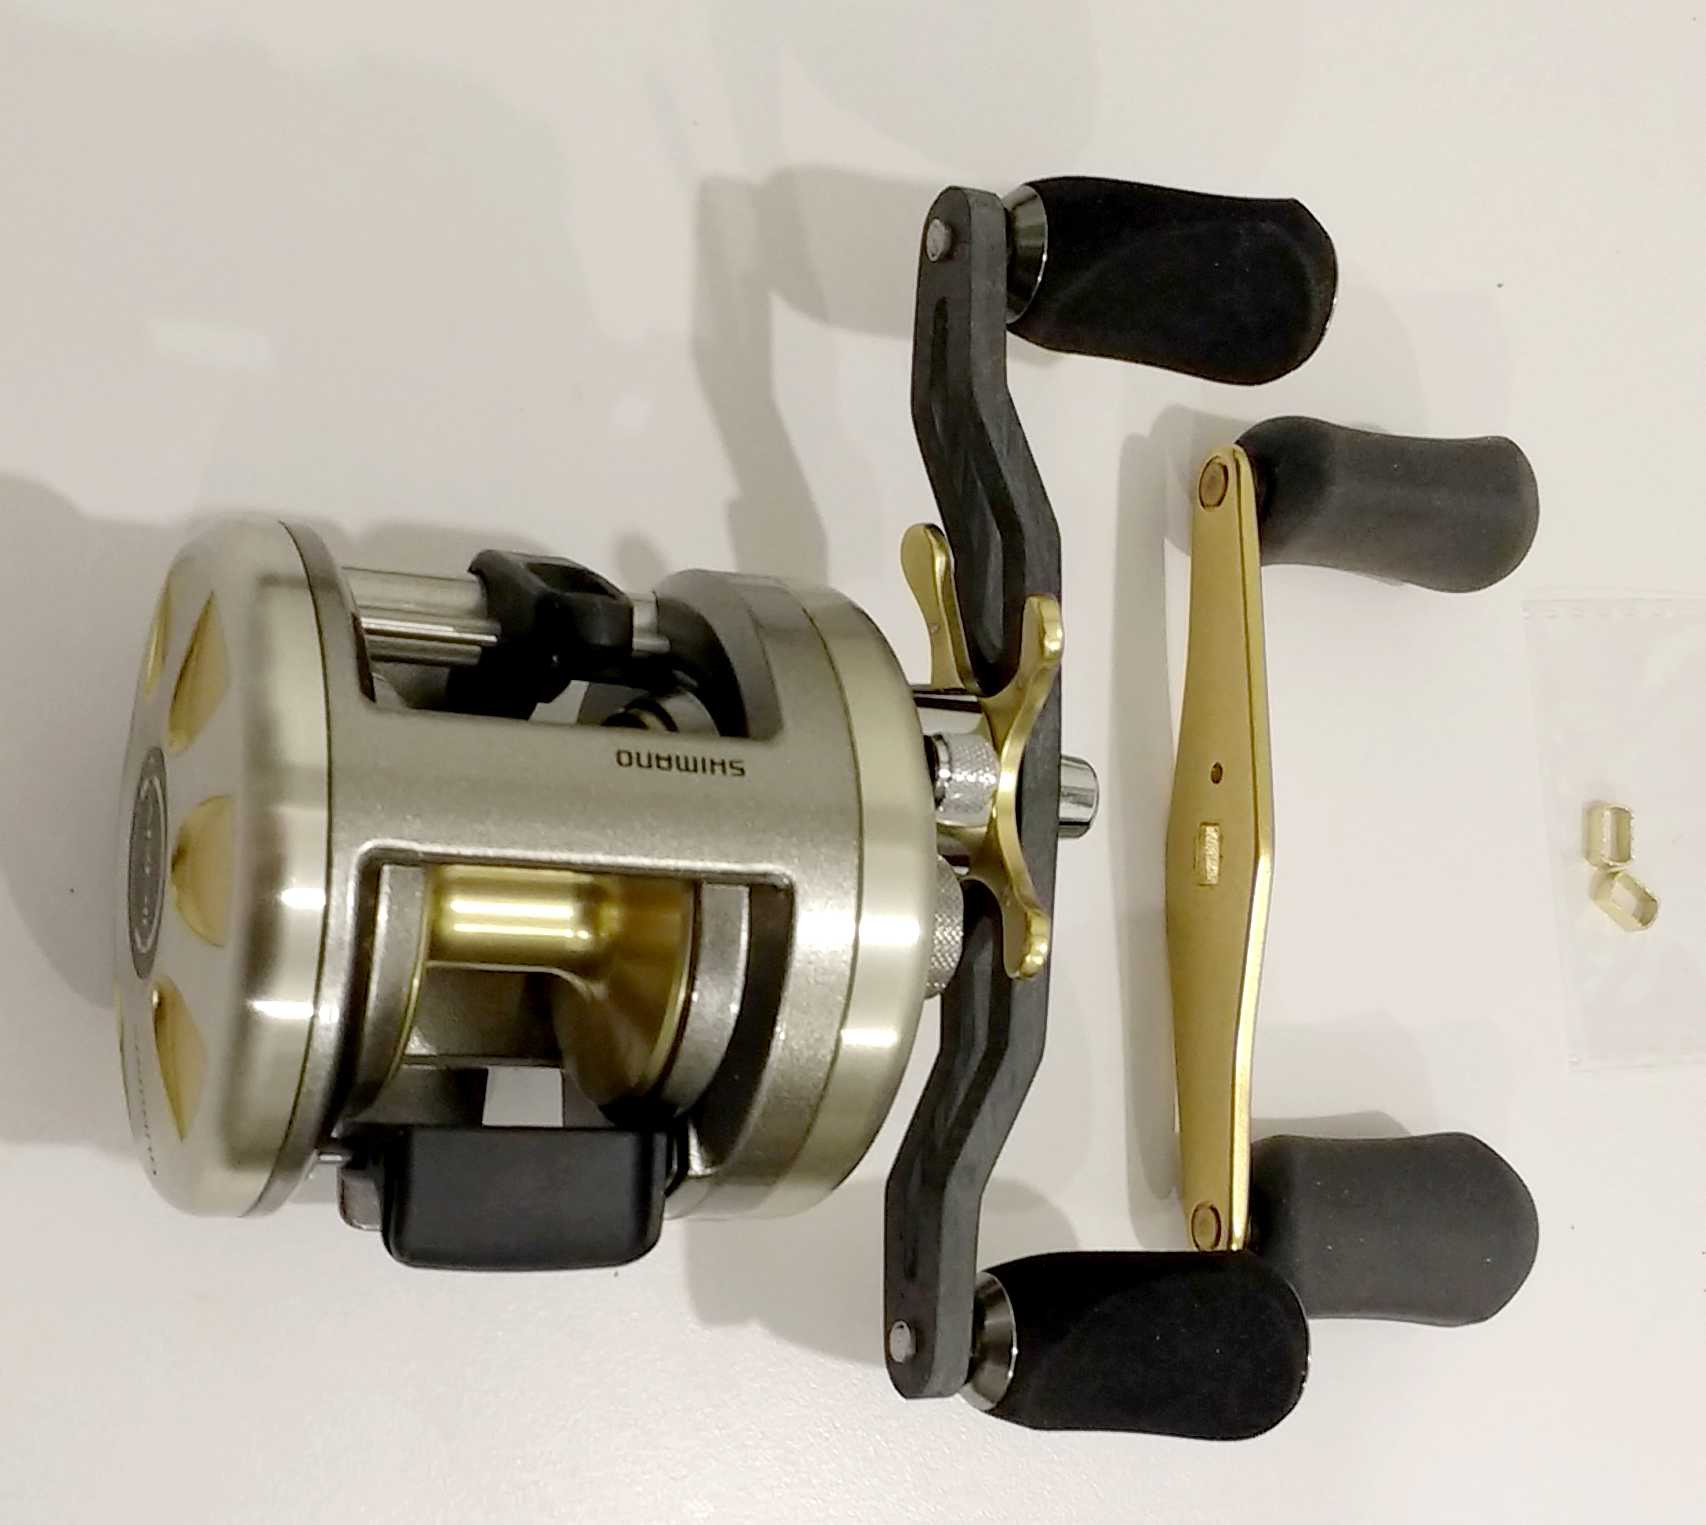
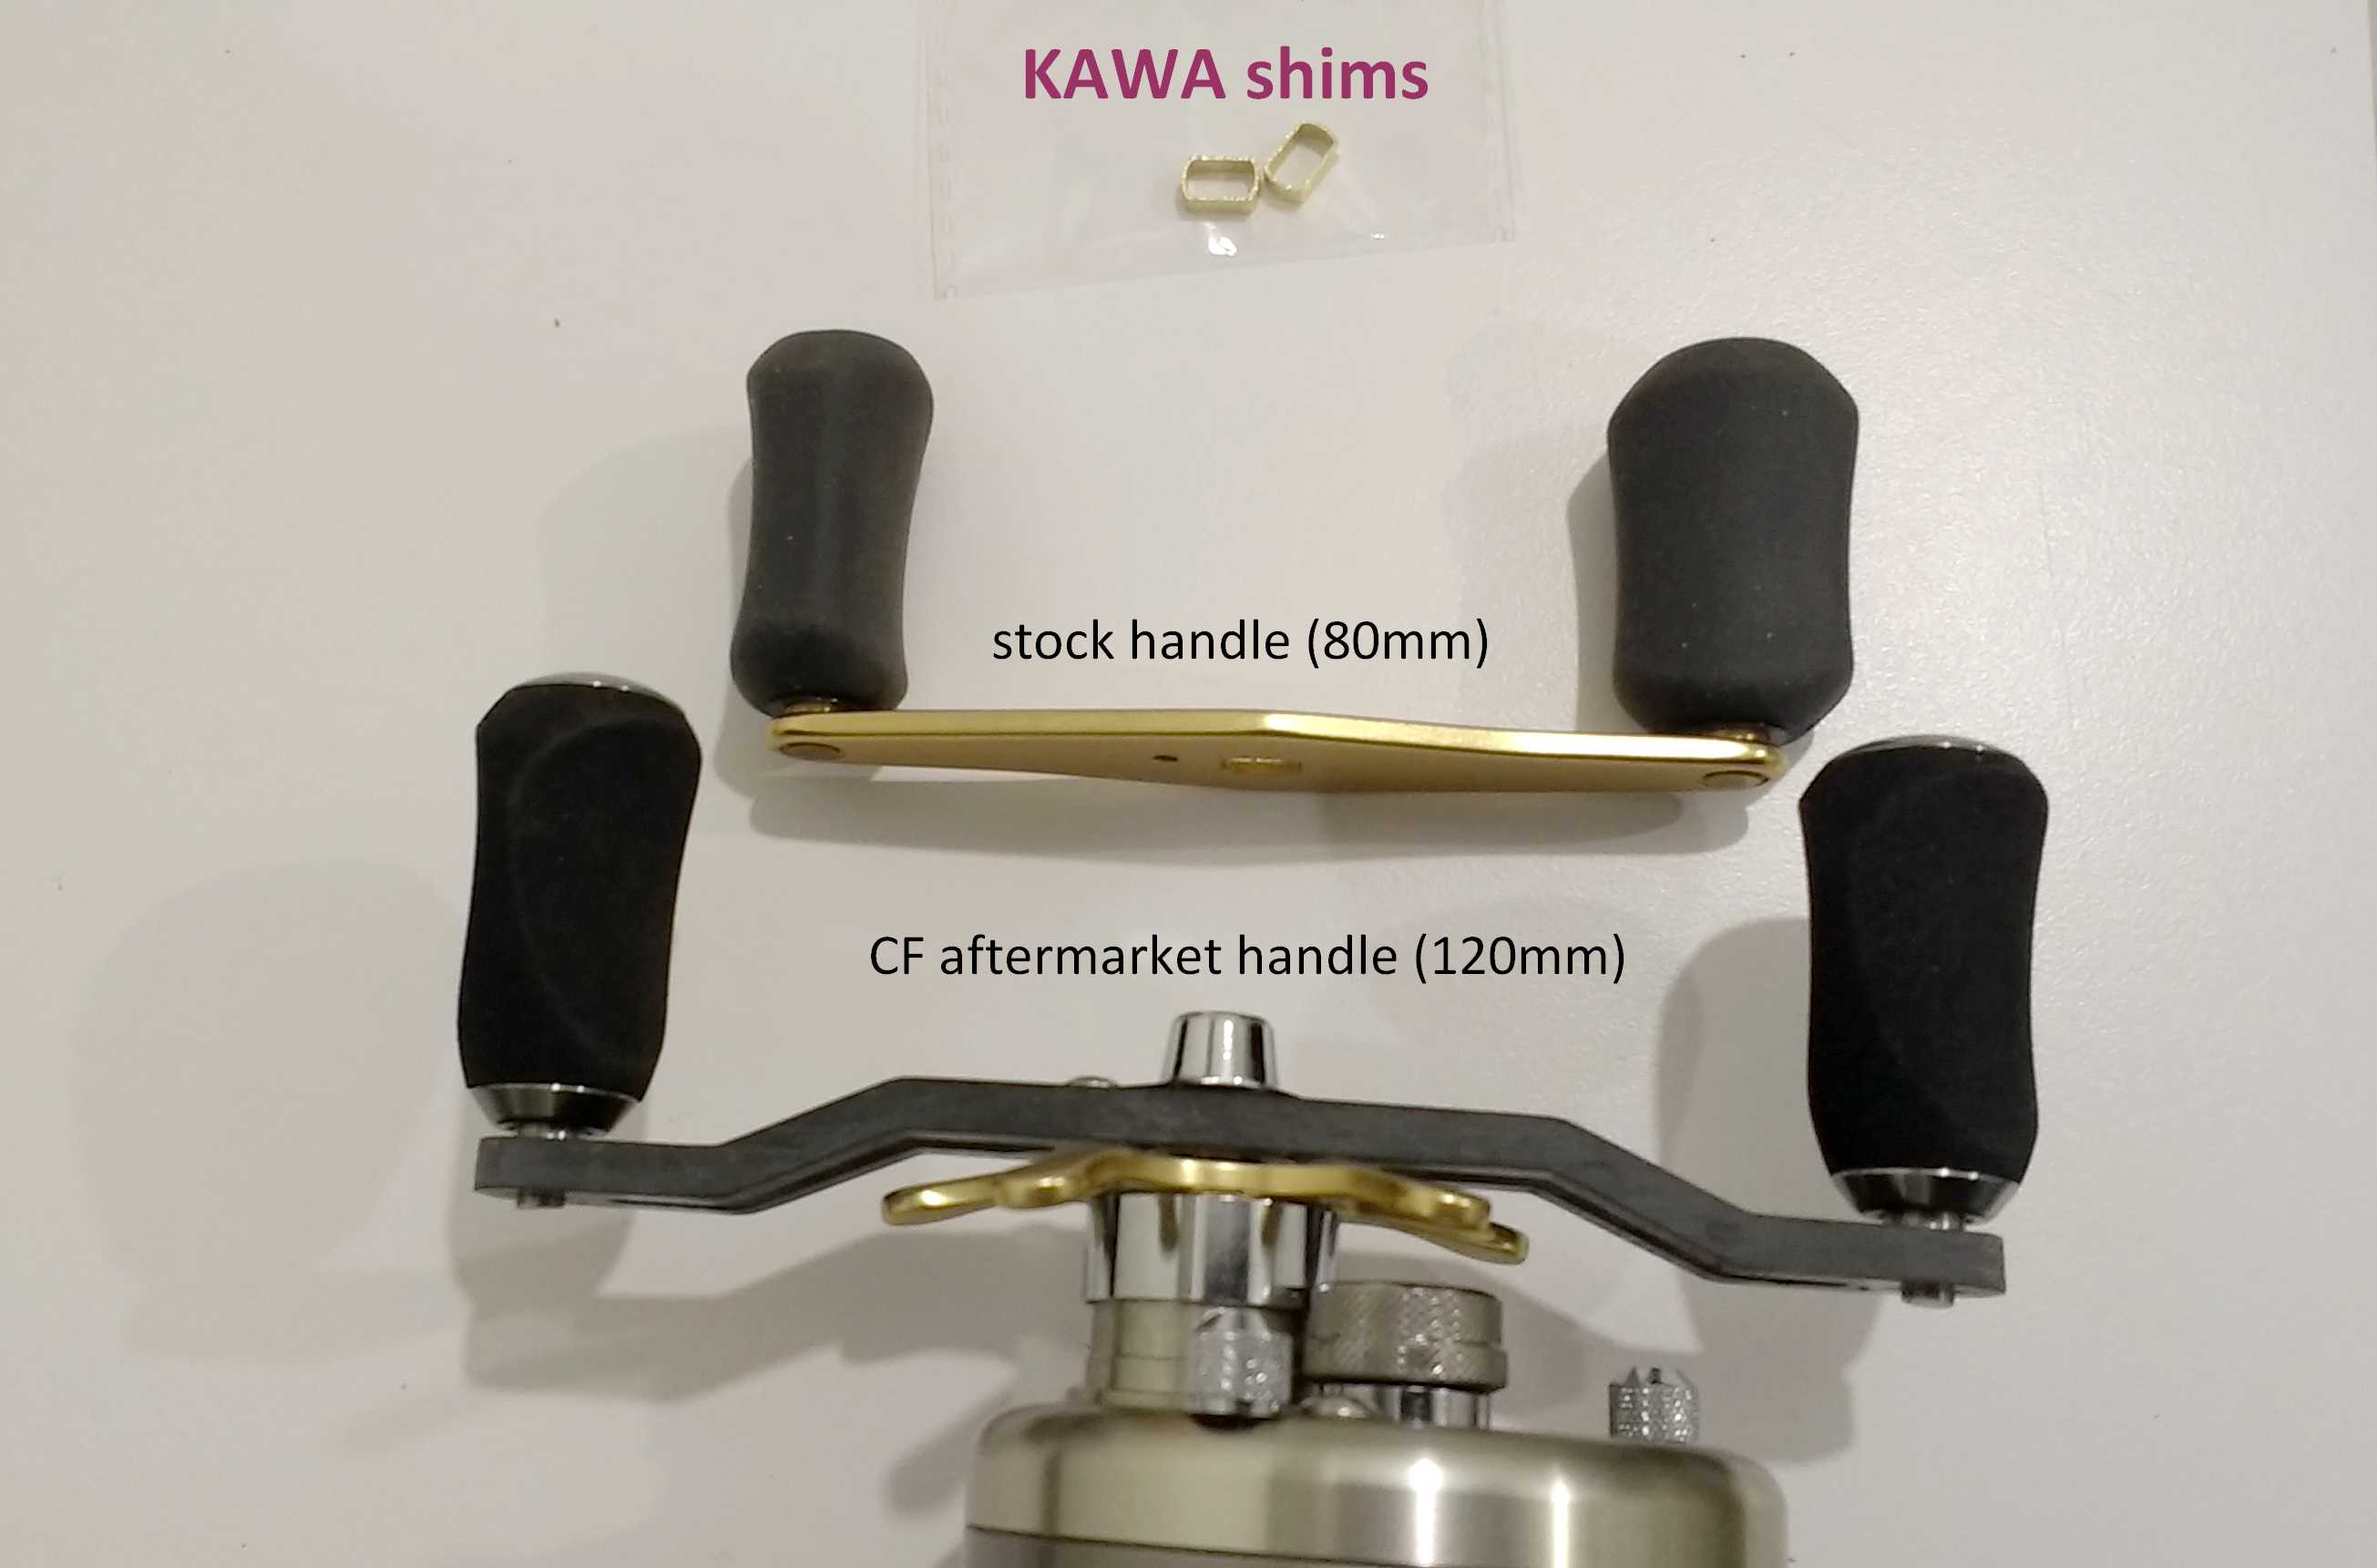
Recently purchased a Cardiff 200A for deep cranking or 2 oz. swim baits. Like any new reel I buy I do a complete service and tune. I didn't like the short handle and wanted to mount one of my 120mm carbon fiber swept handles. The issues; flat star drag and my handles were for 8mm x 5mm shaft. Mod #1 - To put a bend into the star drag I first cut a piece of garden 3/4" long. It slipped tightly over the cup section of star drag. Then I wrapped the garden hose with masking tape until it fit snug inside a 1 1/8" 12pt socket. Next I cut a 1 1/2" hole in a small piece of 1/4" handi-panel and clamped it to the workbench. After centering the star drag over the 1 1/2" hole I struck it a few times with a dead blow mallet. Bent it down about 3/16". Perfect and still plenty of space to adjust spool tension knob. Mod #2 - The shaft on this reel is 7mm x 4mm. I tried to shim shaft with a strip of .45mm stainless banding. Could not get tight. Spent an hour calling reel service businesses and part suppliers with no good options. Then I went to a commonly used online porthole to search Asian options if any. Holy cow! Found exactly what I needed. A shim to convert a 7x4 to a 8x5 shaft. Cost $5 for three of them plus eleven days to receive. The fit was very snug, fit the shaft perfectly and the 8x5 handle fit snug to the shim. Actually much closer in tolerance than a normal handle. Now happy with a custom cranking reel. Can't wait to try (photo attached) on the 7'8" MH telescopic rod I built in January. Hoping to hook a major melon!


-
Thanks everyone for your opinions and guidance. Mark, no issues so far with scale mixtures after doing 4 - 150-160gm application sessions. Coated 26 baits. Chuck, I'll get some of those brushes for doing the bills after the finger rubs. I do like the result of a bit thinner coat that I can "feel" as I apply. I'm shooting another batch of 30+ underwater buzz baits during the next couple days and I'll post honest finishing results either way.
-
I only have the big bottles. I guess next time I purchase it will be in syringes.
-
What is slightly, 5% ?
-
I used all the fingers and thumb. Cut them off before I started. I did six 1.5 size baits with one mix. Way better than one or two baits before the epoxy normally sets up.
-
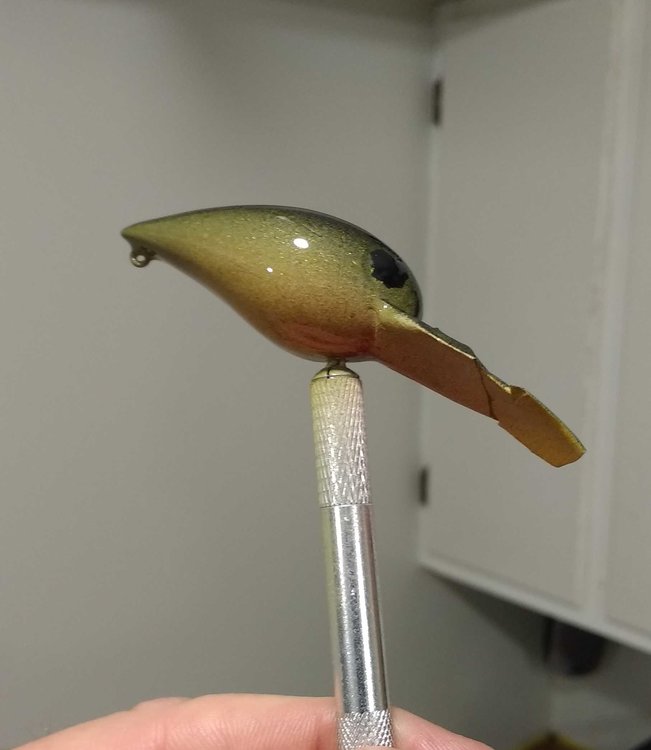
Unfriggin' believable! I will never coat devcon with a brush again! I think I read on this forum a couple months ago someone cutting off the fingers of latex gloves to coat baits. Absolutely!! Here's how I mixed using a digital postal scale; 1. set a 2oz plastic shot glass on scale, set the tare, 2. add 75gms of both parts of Devcon and mix for 15 seconds, 3. add four drops of denatured alcohol and mix again for 15 seconds. To apply; make , 1. remove clamp devices from bait, 2. using cut off fingers of a latex glove, put one on my index finger, dip in epoxy, 3. hold the bill with the other hand and spread epoxy with finger (you can get in tighter places than I originally thought), 4. with middle finger and other free fingers attach clamp device to middle hanger, 5. while leveraging edge of bill with thumb spread epoxy over both sides of bill, 6. put on rotisserie. I was able to do 7 wart sized baits in 13 minutes and the epoxy was just starting to set up. Background, about three years ago now I wrapped guides on a fly rod with a white silk thread and used a similar mixture (flexcoat) so the wraps would become transparent. That came out great too! Have not noticed any difference from others done conventionally in resulting finish. Photo of redone WW an hour ago, done with this process. All paints used were Apple barrel @ 50 cents each at wally world. Bought 30 - 1 ounce flip top plastic bottles and mixed my own colors using distilled water and pledge (thanks red dragon) then jotting down the recipes into a spreadsheet. I'm satisfied.
-
Anyone tried applying devcon while wearing a throw away latex glove? I may try it tomorrow afternoon. There's got to be a quicker way to apply than stroking with a cheap watercolor brush. My plan is to mix up the epoxy, then, 1. Dip my two fingers and thumb in and quickly work it about the contours of the bait, 2. set bait down and remove the glove, 3. use a cheap watercolor brush to hit the tight areas, 4. position for curing. Hoping to speed up the process and get a thinner coat on the bait. Is this a crazy thought? (careful now) Otherwise, is there a chemical to retard the devcon drying time. What about denatured alcohol? Ended up using flexcoat for some 5"+ baits due to the quick thickening of devcon.
-
Rodbuilding.org