Search the Community
Showing results for tags 'fluid bed build'.
-
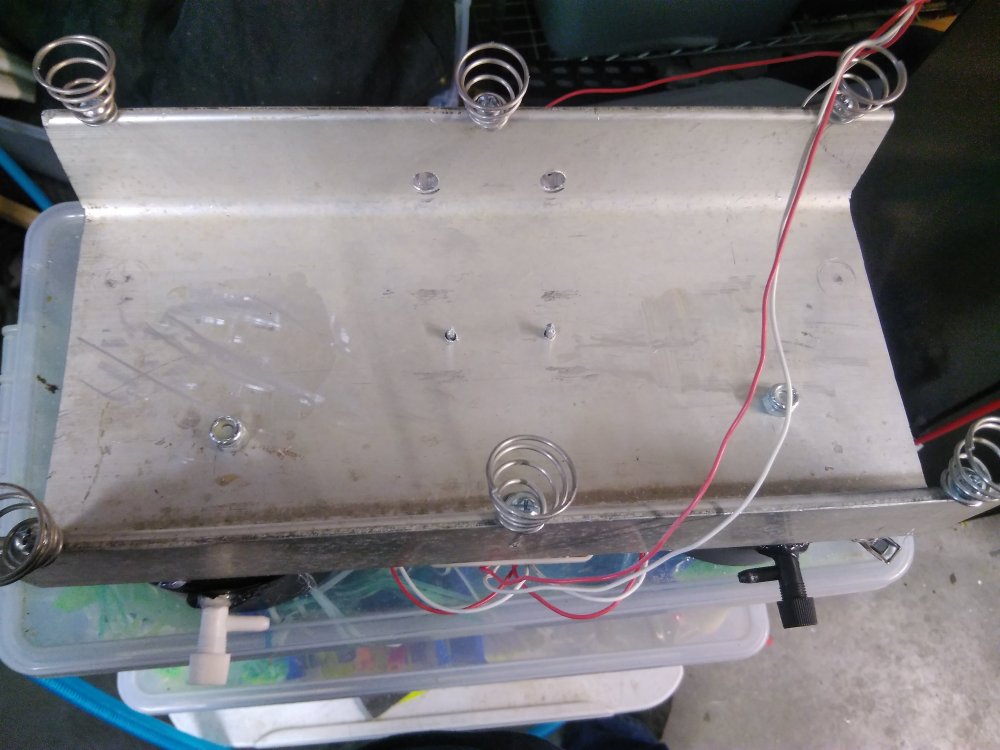
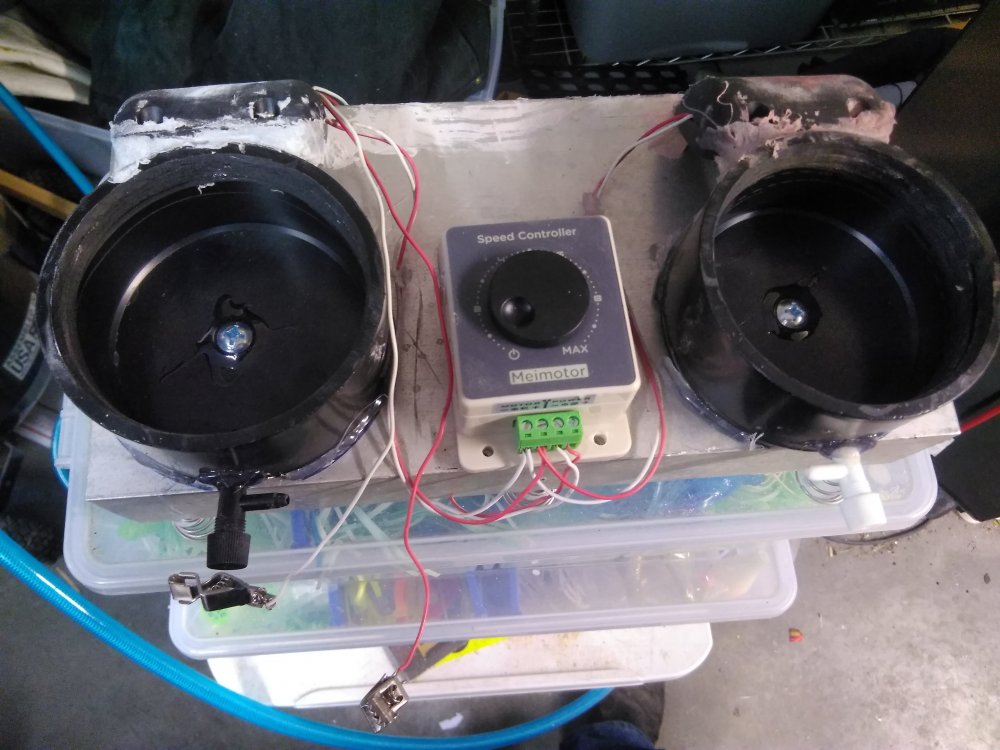
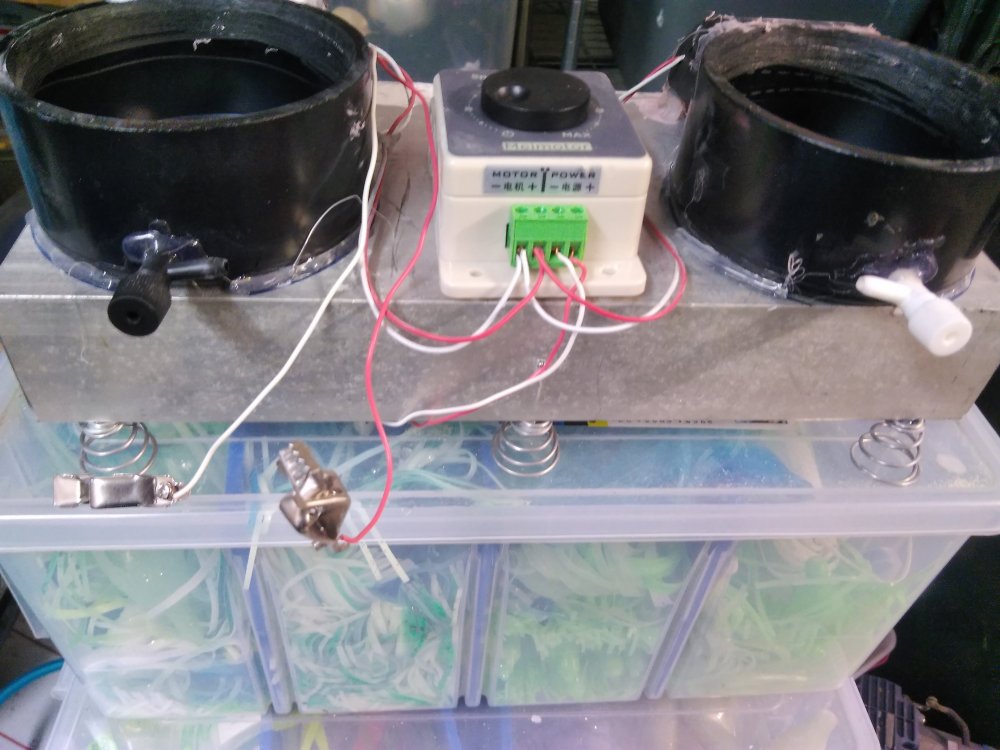
. So this came up in another thread and I figured I would post it here. I made a vibratory fluid bed awhile back and some people were asking about it. I used aluminum C channel for the base. Then I drilled and tapped it for some cone shaped spring feet and bolted them on. Originally I built a T piece for attaching a vibratory sander. This didn't work well so was eventually removed. I then bolted on some 3" ABS flat caps. Bolting was required as installing and removing cups would rip them off with just epoxy. A hole was drilled in each cap near the bottom to accommodate a plastic aquarium valve which was epoxied in. I then attached a small vibratory motor on the back of each fluid bed securing to the base. The wires from the motors feed into a speed controller. The current power source is a small(old snowmobile) 12v battery. Cups are made by cutting some 3" ABS (or PVC) pipe. Put in a knock out test cap and knock out the center and discard. Retain outer ring. Cover with Tyvek and replace ring. You now have a cup with a tight membrane on the bottom. Use another knock out test cap as a lid for the cup. I use a cheap 30/60 aquarium air pump from Walmart for air. For a 2" fluid bed press in a 2x3 adapter and 2" cup. This way you now have a dual 3" or 2" fluid bed. Vibration is adjustable via the speed controller and air via the aquarium valve. Vibratory motors and speed controller came from eBay. Spring feet from McMaster-Carr. C channel was scrap from work. Aquarium parts from Walmart and ABS from Home Depot. It works well for me though I'm sure I'll tweak it some more. And likely add an adapter for outlet plug in capability.


